

|
1937
Packard |
|||||
|
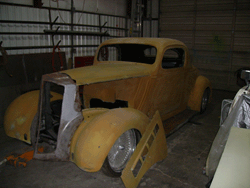
Out of the blue one morning I walked outside to see two men with a 'Big-Bird' yellow rusting hull on their trailer sitting in my parking lot. My first thought was "Hey, don't park that there!" but as I walked closer my brain began piecing together the bits and pieces on the hauler until it formulated the rough outline of a car. And not just any car mind you, but a Packard. "Think you can fix this?" One fellow asked. "It's a Packard." I replied. "I'll have to." |
|||||||||
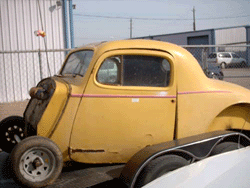 |
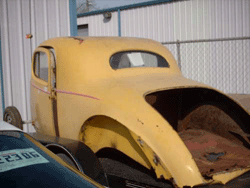
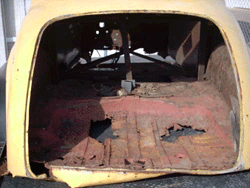
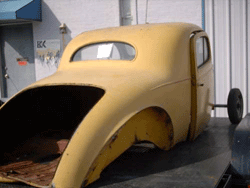
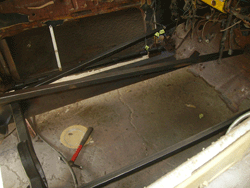
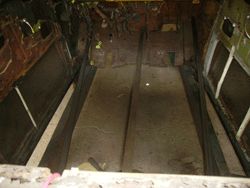
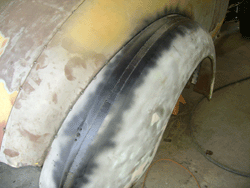
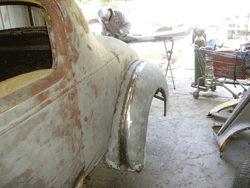
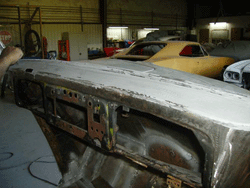
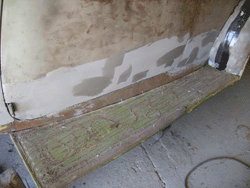
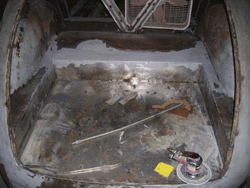
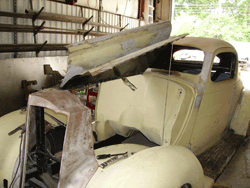
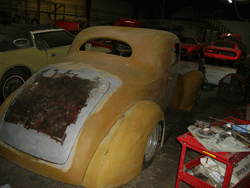
When the car arrived, there wasn't much left to work with. The floor was completely gone, as were the rockers, visible in the 1st photo. 'NOTHING'. The trunk was hanging on but was made up mostly of rust particles holding hands. The entire body had warped from the deterioration and stress under its own weight to the point where the doors no longer fit in the openings, also visible in the photos.
|
 |
 |
 |
|
We finally found time to start on the car. We began by glass beading everything to the metal, leaving the old bondo to be ground out by hand. |
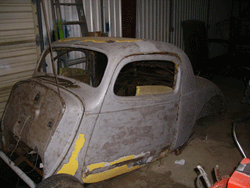 |
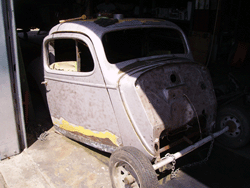 |
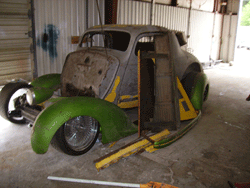 |
|
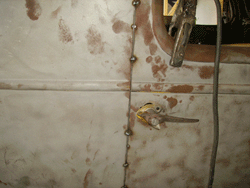
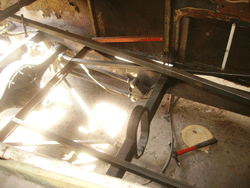
The body is test fit on the custom boxed frame and stretched back into shape, the doors and decklid were fit on and welded shut. Main reinforcements were installed to be removed later. |
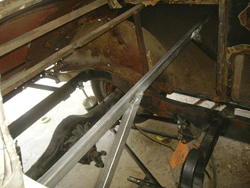 |
 |
 |
| The primary goal here is to get everything lined back up and held together so we can build in the structural support that it no longer has. I will be removing most if not all of the interior wooden bracing and replacing everything with steel square tube. | 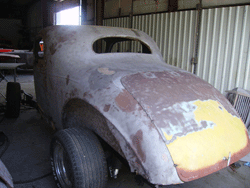 |
 |
 |
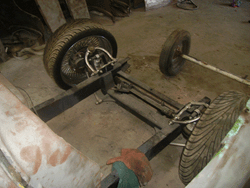
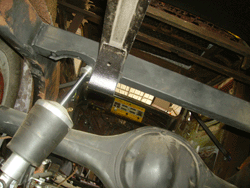
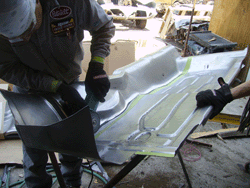
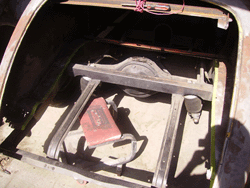
| The car is running on air suspension. We are going to fab in trunk for a fuel cell. The quarters we mini-tubbed, a few inches inside and out to fit a slightly wider wheel. For the floor, I bought an f-body floor pan to match the 700R4 trans he plans to use, and we are fabricating our floor from that for a factory-style appearance. | 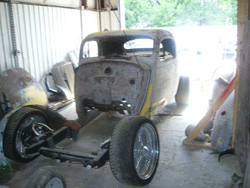 |
 |
 |
 |
 |
 |
 |
|
New firewall installed and floor installed. |
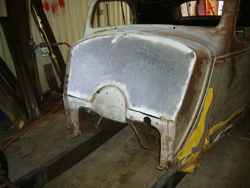 |
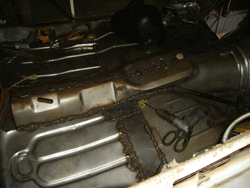 |
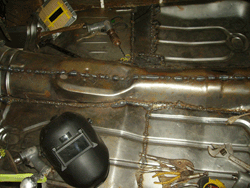 |
|
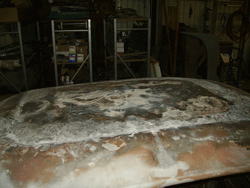
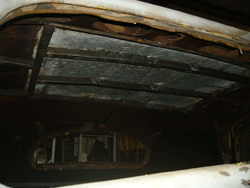
Finishing the floor installation, tearing out the old leaded roof patch to replace with a new one, and replacing all of the wooden structure with steel reinforcement. |
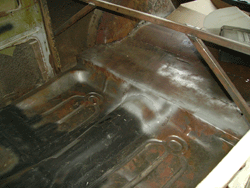 |
 |
 |
|
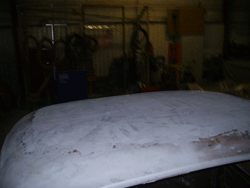
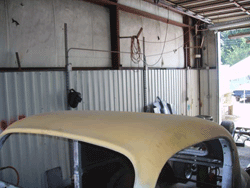
Roof almost finished. Nice and smooth! |
 |
 |
|
|
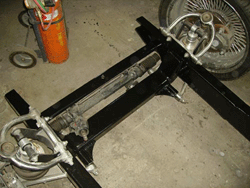
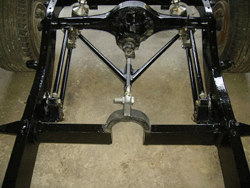
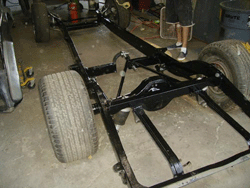
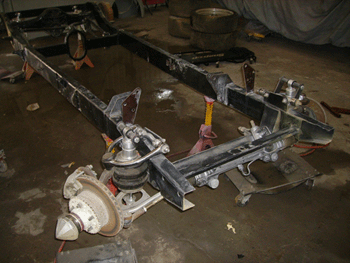
A month without updates! The custom boxed frame has been POR-15 coated. We finished final clearance modifications on the 4-link / air suspension and everything works perfectly. |
 |
 |
 |
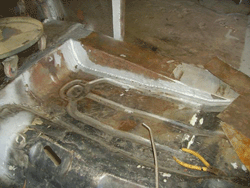
| We have begun welding in the largely rusted our front and rear window channels. Also, channeled the floor to clear the frame rails and began smoothing our welded seams. | 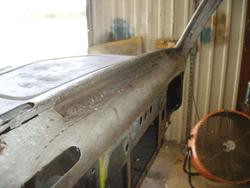 |
 |
 |
|
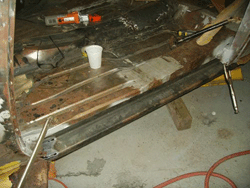
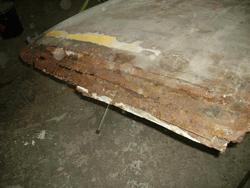
Our brake formed inner rockers are test fit, trimmed and put in place. Also, we started the major rust repair on the doors,.... whoo hoo! |
 |
 |
|
|
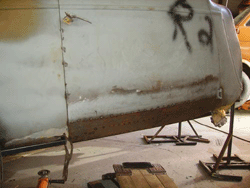
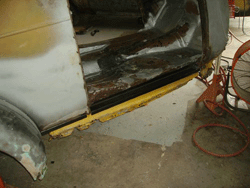
Door patches complete and re-tested. Getting started on the rockers. |
 |
 |
|
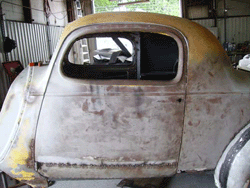
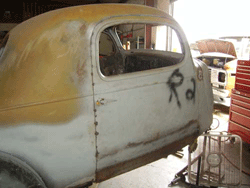
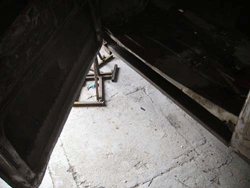
Both doors finished, inner rockers test-mounted. |
 |
 |
 |
|
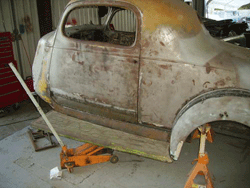
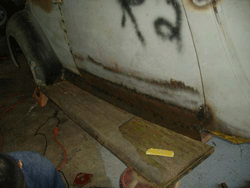
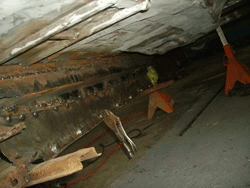
Outer rockers built and running boards test fit. Still alot of cleanup to do once the fabrication is over. |
 |
 |
 |
|
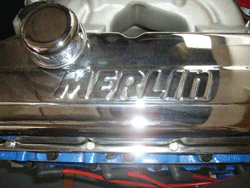
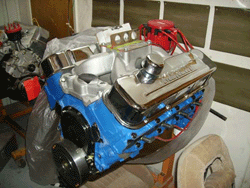
Outer rockers molded to shape and reattached. The owner wanted power, and put in an order to JEGS for a 509c.i. MERLIN!! Ok, you and I both know that 700R4 has got to go. |
 |
 |
 |
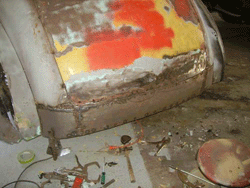
| The rear valance is hand made, test fit and installed, needing only minor adjustment to be finished. | 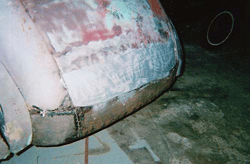 |
 |
|
|
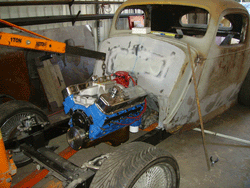
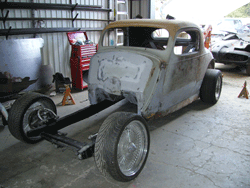
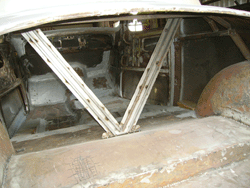
The engine is test fit for final modifications, finally seeing a car starting to take shape. Also, we built in bracing for the seat / trunk divider. |
 |
 |
 |
|
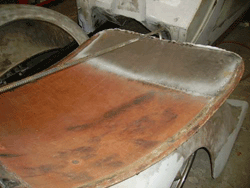
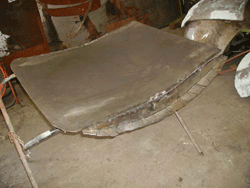
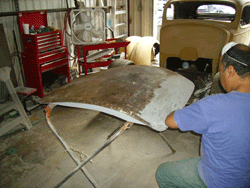
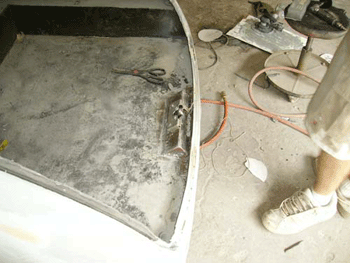
The original flimsy decklid just isnt going to work anymore, so we have designed an inner skin to double layer the trunk for structural support. |
 |
 |
|
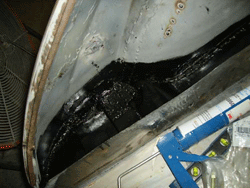
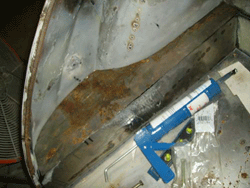
We are squaring the trunk out for a cleaner look once upholstered. Here you see the insides of the rear quarters being boxed in. |
 |
 |
|
|
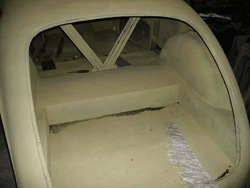
Trunk built and ready for finishing. |
 |
||
|
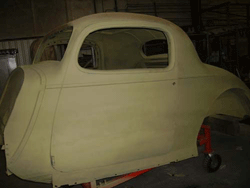
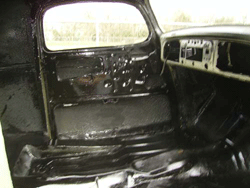
We now needed to protect the body. We used a special high-quality etching primer specifically designed to protect the metal and prevent rust. We also used POR15 undercoating rust prevention material all throughout the inside of the passenger compartment. |
 |
 |
 |
|
Now our attention turned to the front of the car, where major repair was still needed. Here you can see the car completely assembled. |
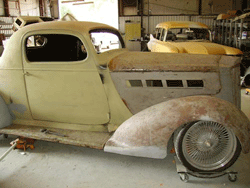 |
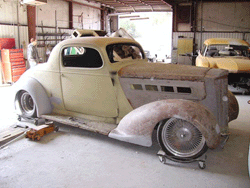 |
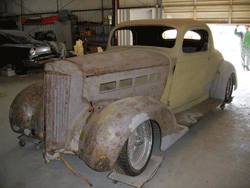 |
| With the car put together, we can easily identify areas that still need attention, like this lower panel on both sides. You can see where it was repaired. | 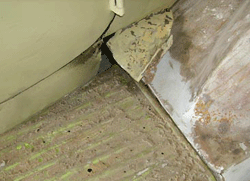 |
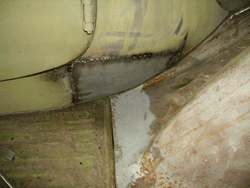 |
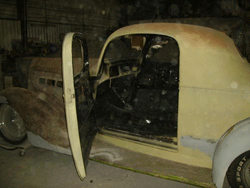 |
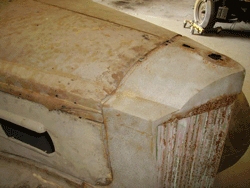
| The hood and grill need the most work. The hood has alot of deterioration in a very small curvature that will take some time to repair, and we will need to completely recraft the inner and outer hinges from scratch. The lower grill valance, you can see for yourself. | 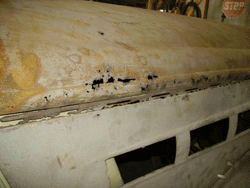 |
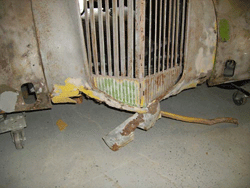 |
 |
|
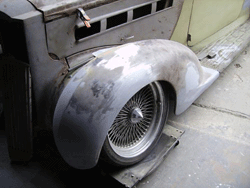
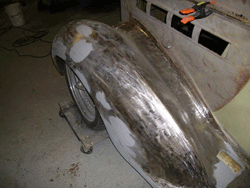
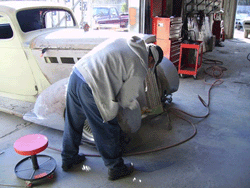
The fenders needed the least amount of work, so we went ahead and got them finished and out of the way. |
 |
 |
 |
|
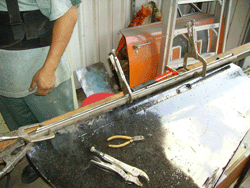
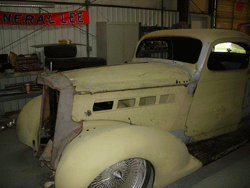
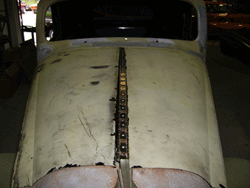
We had to restore the latch assemblies first, then rebuild the inner and outer hinge. |
 |
 |
 |
|
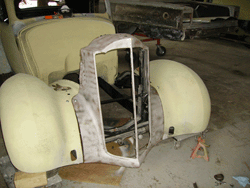
We were lucky enough to find a better grill and shroud. Although it cost a pretty penny, it did save alot of hours in labor. We then built custom shroud retainer rods from 3/8th steel for added strength. |
 |
 |
 |
|
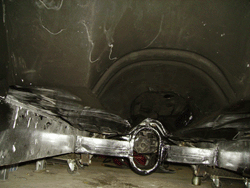
The underside is POR-15 coated and for now, finished! |
 |
||
| The customer needed to take a breather, and now we are off again! Next thing to tackle is mounting and hinging the decklid... requiring building the hinges from scratch. | 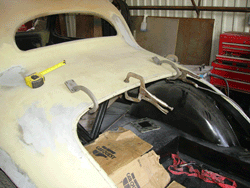 |
||
|
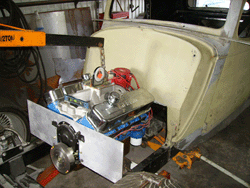
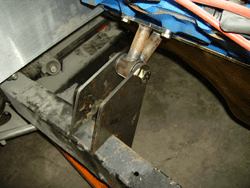
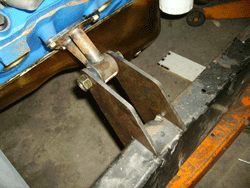
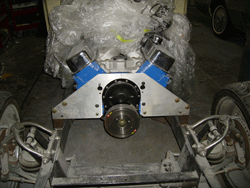
The engine mounts are designed and built. |
 |
 |
 |
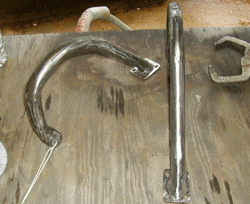
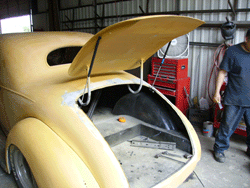
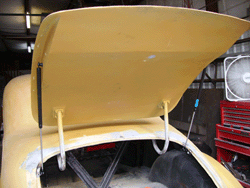
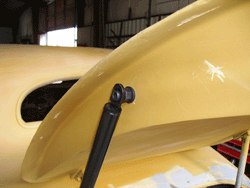
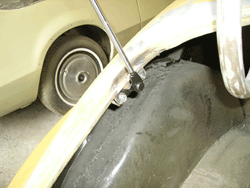
| The trunk hinges are finalized. We built reinforced steel box mounts into the double skinned decklid on which these mount. | 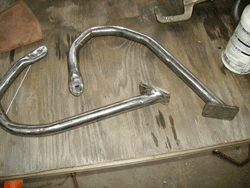 |
 |
 |
|
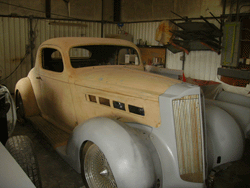
The body is surfaced in preparation for blocking. Finally the pieces are starting to come together. |
 |
|
 |
| The fuel cell is modified for clearance of the trunk hinge, and bodywork on the decklid begins. | 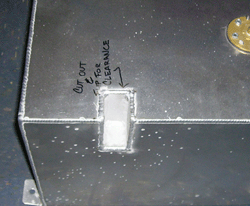 |
 |
|
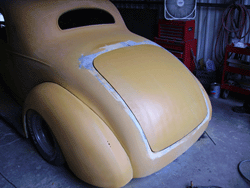
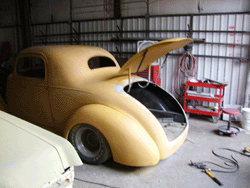
Now the trunk fits, opens, closes and everything else you normally require a trunk to do. |
 |
 |
 |
 |
 |
 |
|
|
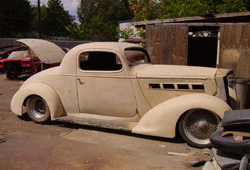
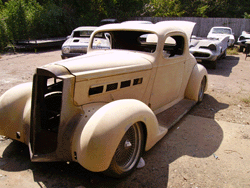
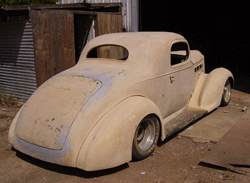
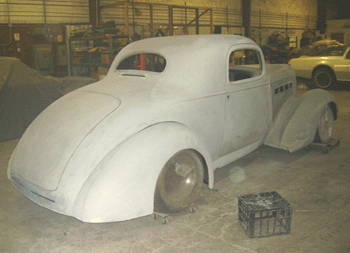
Everything assembled and first blocking complete. Now can you tell what
it is? |
 |
 |
 |
|
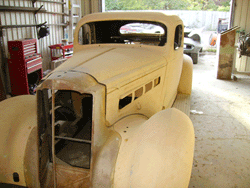
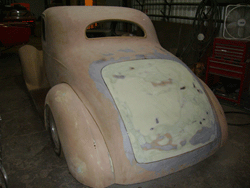
Blocking can take some time, it should be repeated until the body is straight, so the time involved varies greatly from car to car. If you remember how this one started, you'll understand. We'll repeat the blocking session at least 3 times on this car. |
 |
 |
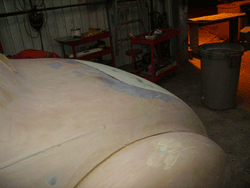 |
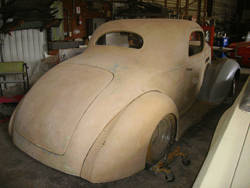
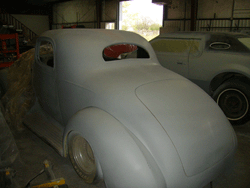
| Starting to get some of the panels into primer. | 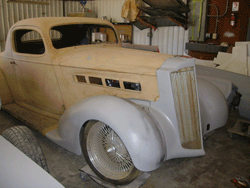 |
 |
 |
| Now the rest of the body. | 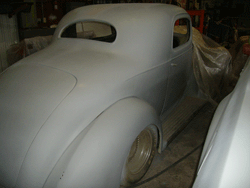 |
 |
|
|
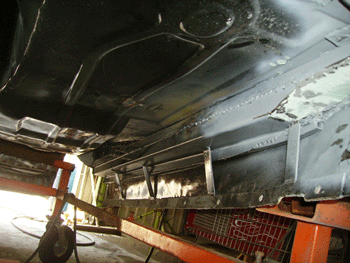
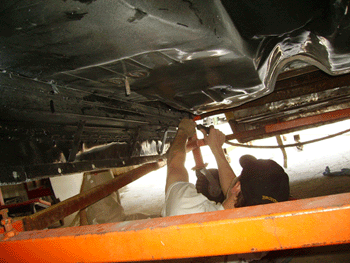
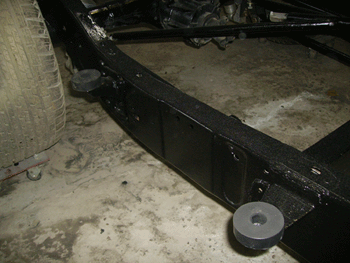
It is finally time to start working on painting the car and getting into final assembly. First thing we need to do for that is to finish the cab underside, clean the frame and make / install our body mounts and final install the cab. |
 |
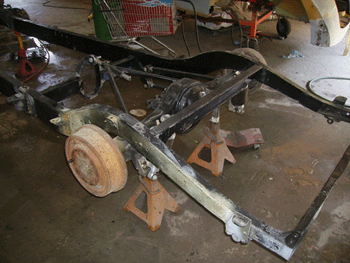 |
| Here a few loose ends under the cab are finished up in preparation for final installation. |
 |
 |
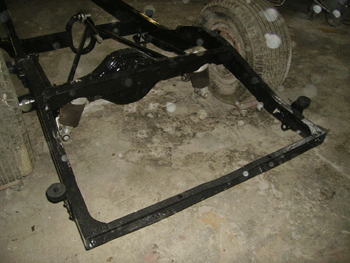
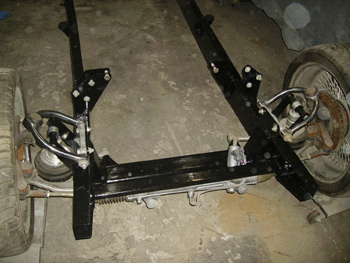
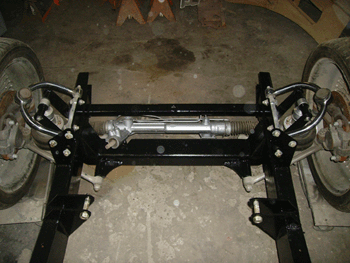
| And here are shots of our body mounts built and installed. Now we are ready to install the body once it is painted. |
 |
 |
 |
 |
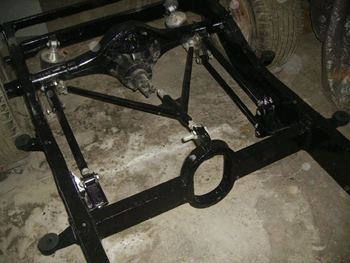 |
| While we wait on the body to be finished, the frame is wrapped and put aside until we need it next. |
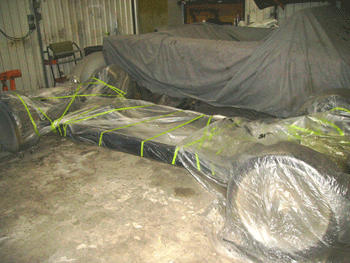 |
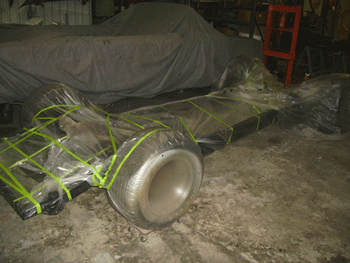 |
|
With the underside of the cab finished, we set the body on the covered frame to work on the final items needed before painting. Most of this work is detail items in hard to reach spots, corners and other misc items. |
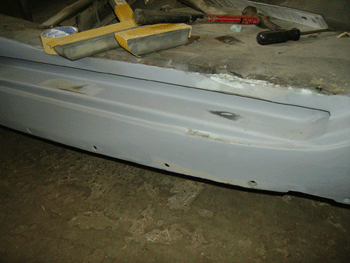 |
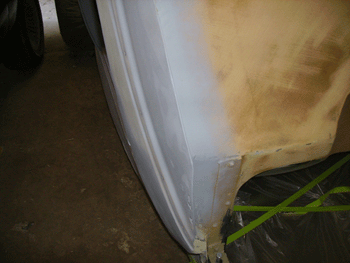 |
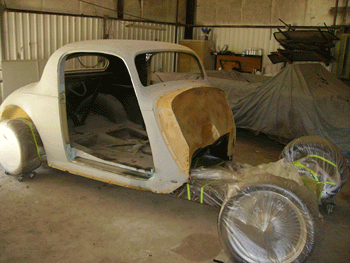 |
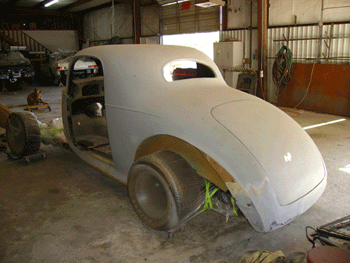 |
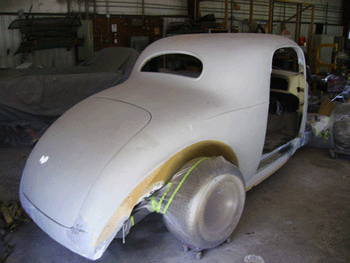 |
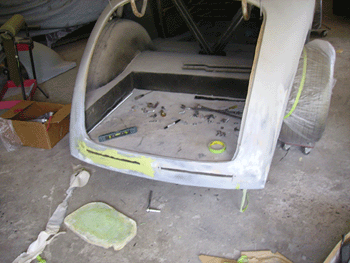
| The customer has decided to not use the stock taillights and instead wants 3 slim LED street rod lights. | 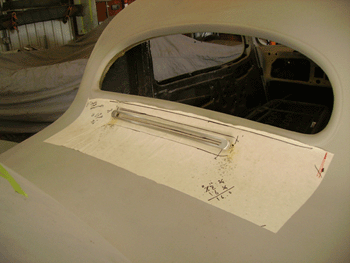 |
 |
|
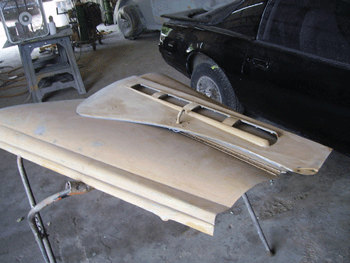
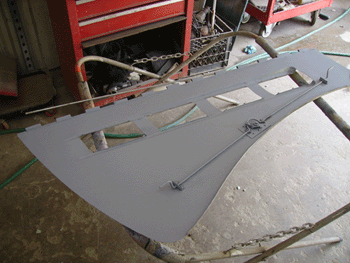
The hardest part to get just right on this car is going to be the hood. The damage and warpage of the panels in addition to the hinge design when considering modern repair & paint materials just means it will need alittle more attention than the other panels. The openings on the side you see get chrome inserts once finished. |
 |
 |
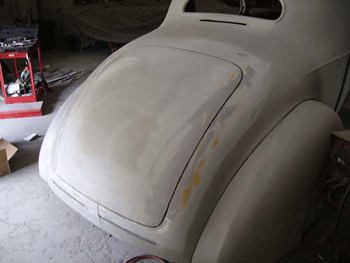
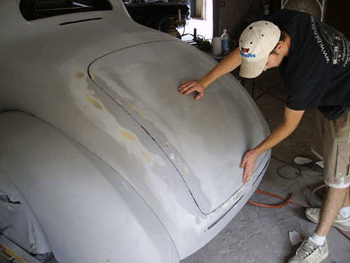
| With the panels all installed we put the car into the booth for final step primer and started fine tuning the gaps and the custom decklid needed this the most to try and getting the fitment just right. We took our panel gap measurement and slowly worked around the decklid until it was uniform all around. In addition, we went ahead and built in the trunk latch mechanism, which is a bearclaw latch setup that will have a power release in this case. | 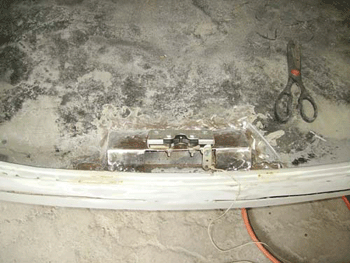 |
 |
 |
 |
 |
| Once the panel alignment is where we want it we get back into blocking and wetsanding in final preparation for painting. | 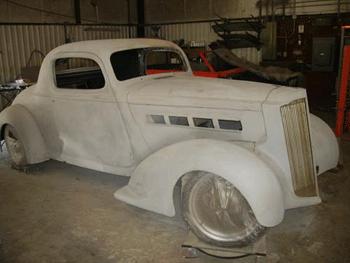 |
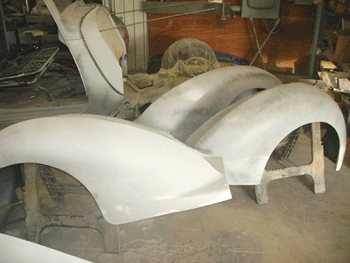 |
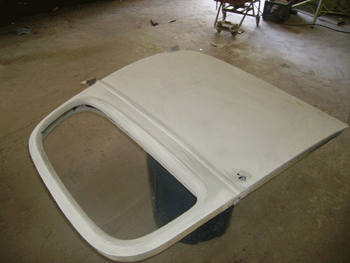 |
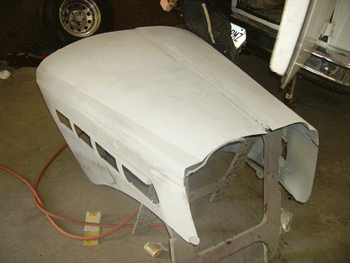 |
 |
|
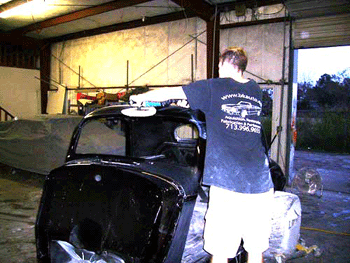
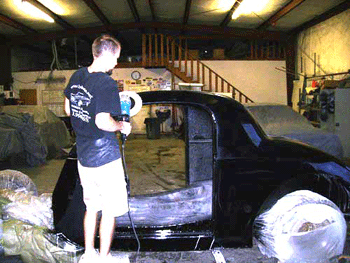
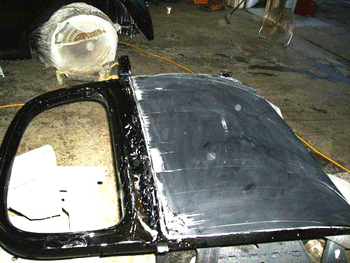
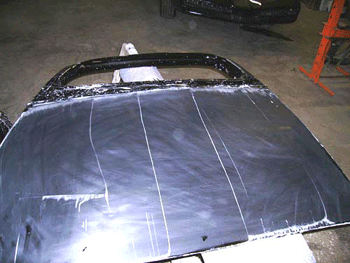
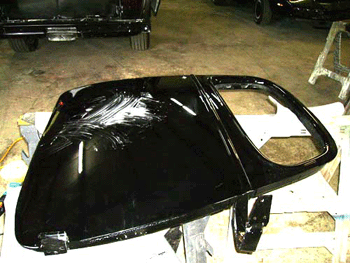
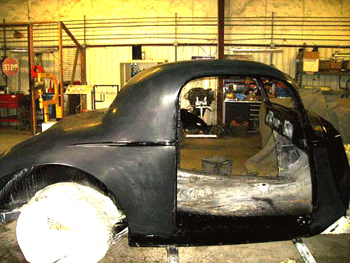
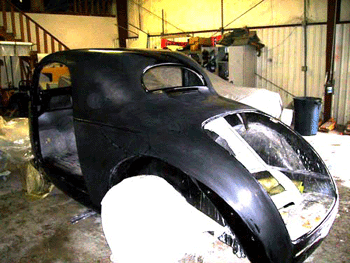
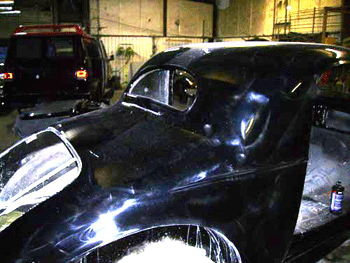
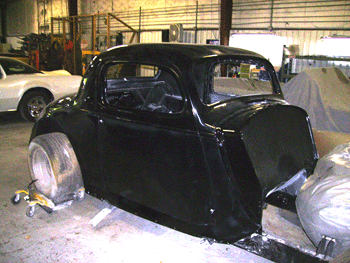
Once the wetsanding was completed we put the car back into the booth and after a long day of shooting (this car has alot more surface area than it appears) we had a shiny black Packard ready for intro polishing. Russell took the car through its initial cutting and 1st step polishing to make sure everything was mirror smooth and to remove any imperfections or nibs that might be in the paint material so that the finish quality once complete will be mirror slick. The fenders, running boards and hood were painted as well but we'll hold off on their cutting until we are ready to install which will be after the driveline installation. |
 |
 |
 |
 |
 |
 |
 |
 |
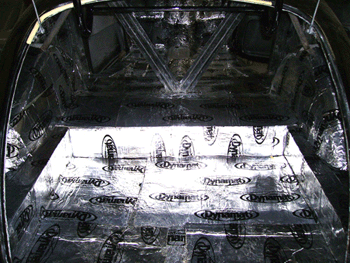
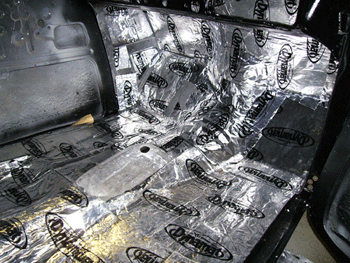
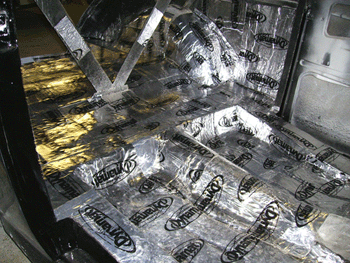
| Once the initial cut was finished, we assembled the cab and installed the first level of Dynamat in preparation for final assembly. Now we should be ready to start the installation of the driveline, beginning with the wiring. | 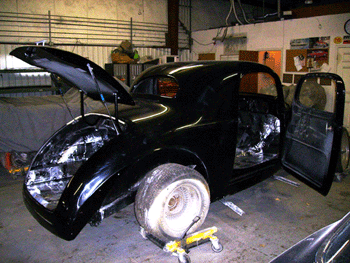 |
 |
 |
 |
 |
|
|
|
For information on
replica or restoration services: BKautomotive@sbcglobal.net
|
|