

|
1971
'Cuda 340 |
|||||
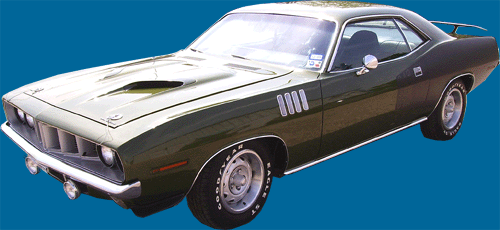 |
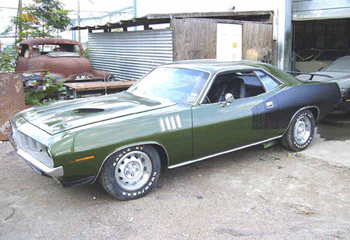
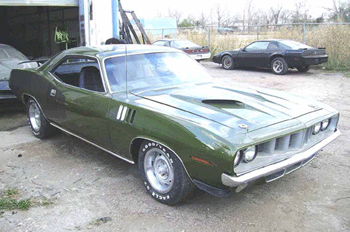
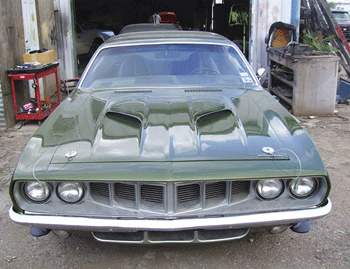
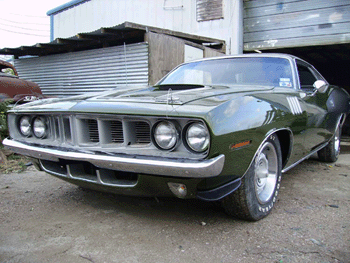
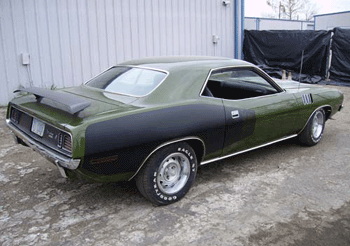
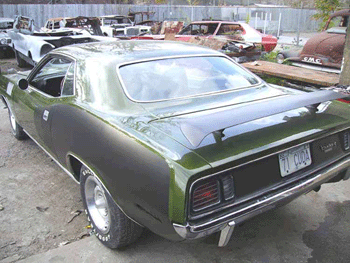
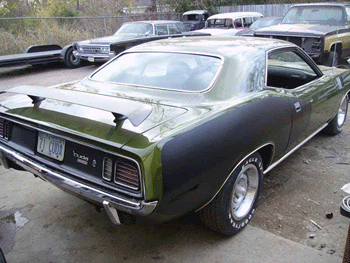
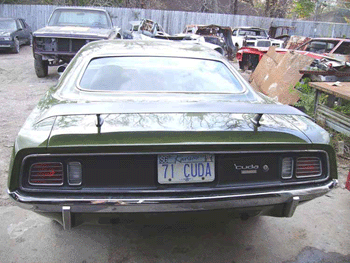
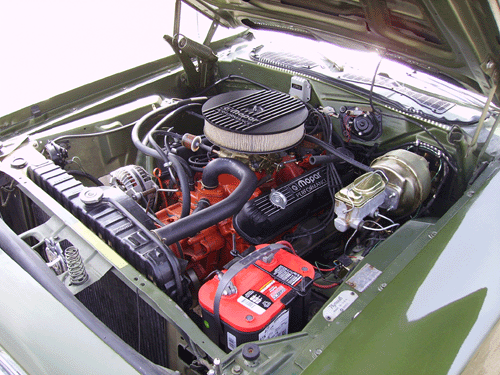
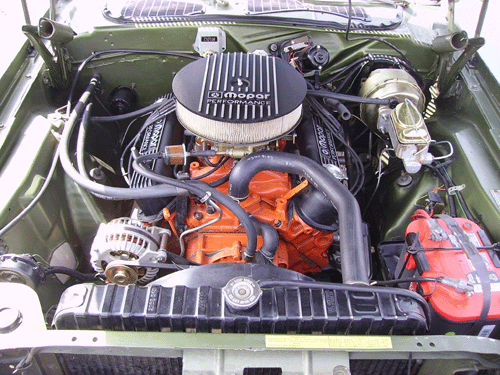
This car was built for a local businessman who inherited the car from his brother who had passed away. We were asked to evaluate the car, provide an assessment and offer suggestions on how to finish the car. Our client had not been prepared to spend a large sum of money on a full restoration, he wasn't even much into classic cars himself, but this car was his brothers prized possession and he did not want to let it go to waste. Upon inspection we got a few treats. The car was an original 1971 Cuda 340 4spd. Everything was matching numbers original with the exception of the engine block, but his brother had managed to find and have built a date coded correct 340 replacement. |
||||
|
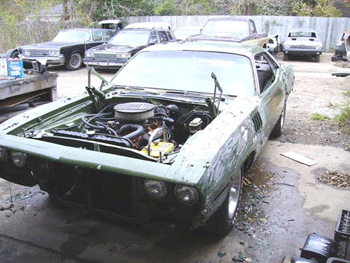
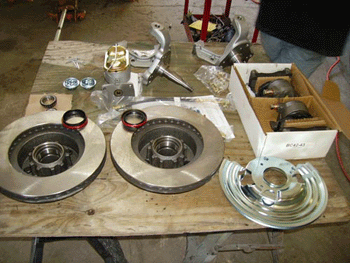
We had no other information provided except what we could tell from our evaluation, but it appeared to us that the car was in the process of being restored to as close as original as possible. We informed our client and he had us draw up a budget and blueprint to continue and finish the restoration in the same manner as it had been started. What we were looking at was a car that already has suspension and a few parts in boxes, but mostly minor items. We started by assessing the drivability first. We performed a full diagnostic test of the mechanicals and electricals and found several problems. We ended up making repairs to the transmission in addition to our overhaul maintenance. During these repairs, the customer decided to upgrade his steering and brakes for reliability, so we ordered a disc brake conversion kit and put in an order to our friends at Firm Feel for another quick ratio manual steering box. And this isn't even getting into the details of the bass-boat texture/flake someone painted the car with at some point I can only assume in the 80's. |
||
|
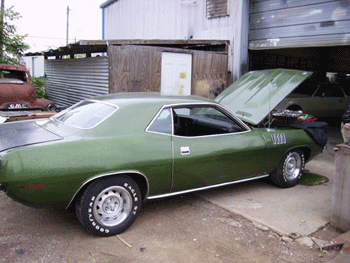
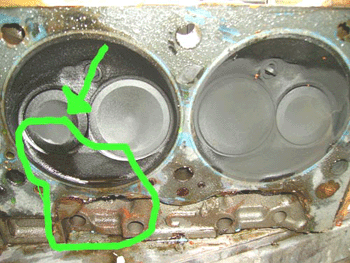
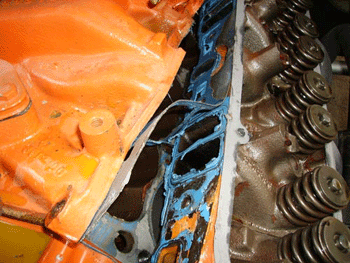
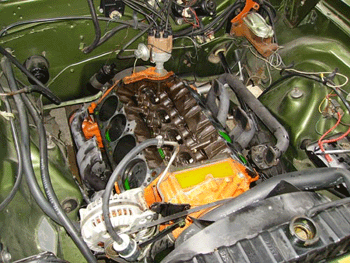
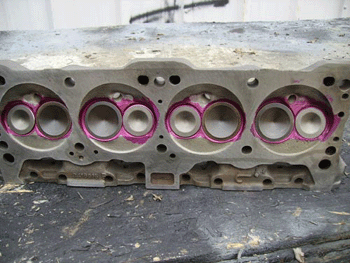
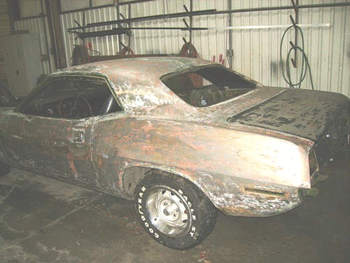
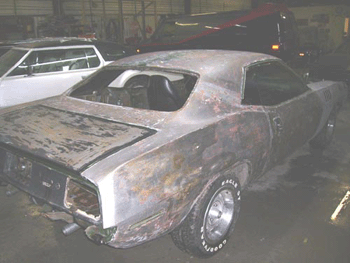
To the right: this is how it arrived. I drug it onto a trailer and into the shop to start what would be almost a week of testing, diagnostic and numbers research to find out what we had and what we didn't and how much of everything was going to need to be redone... and it turned out nearly everything. Once we got to where we could test run the engine, we found more problems. The previous machinist had ruined the heads and we had multiple valve failures. (You can see the results of the leak test below-left) Also, below-center, you can see the mess we found when we pulled the top end apart. RTV goop was everywhere, and was causing a few problems with pieces that had gotten into the engine workings as well. So now we have basically torn down everything except for removing the pistons. |
 |
|
 |
 |
 |
|
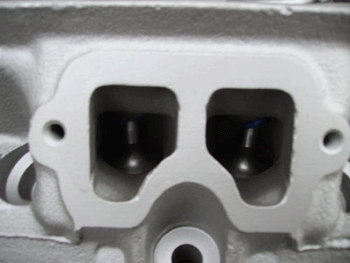
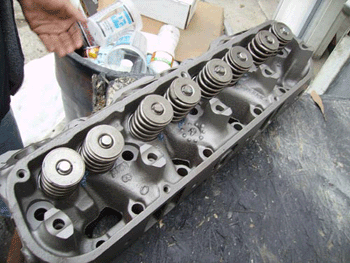
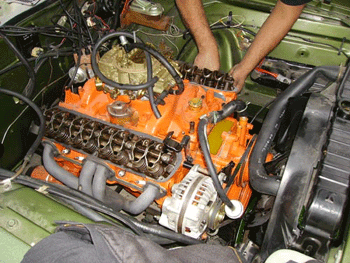
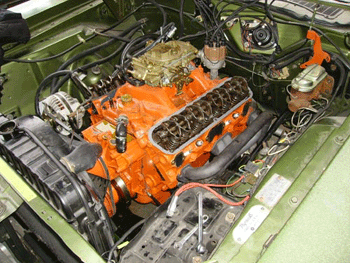
Right & Below: You can see the rebuilt heads, finished
and installed. When we rebuild these classic heads its important to
use the nickel valve seats to run the unleaded gas we use today.
|
 |
 |
 |
 |
 |
|
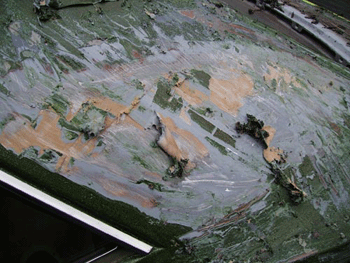
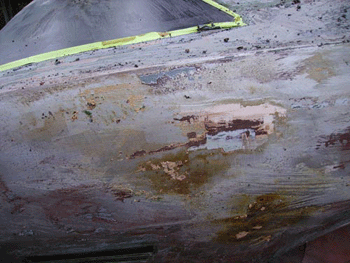
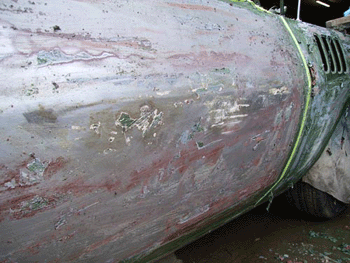
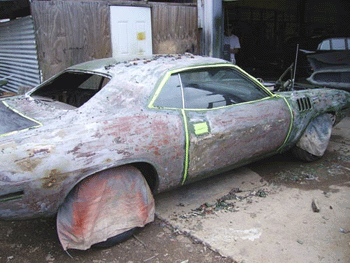
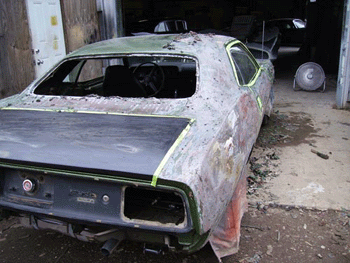
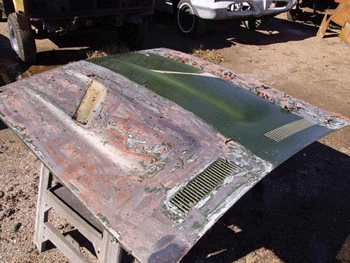
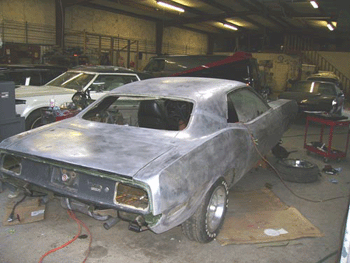
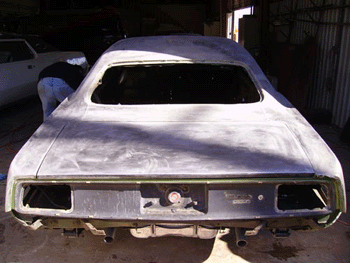
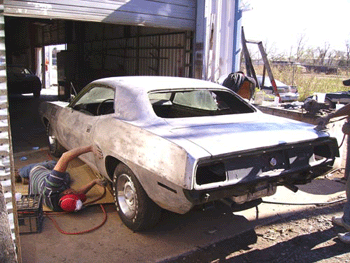
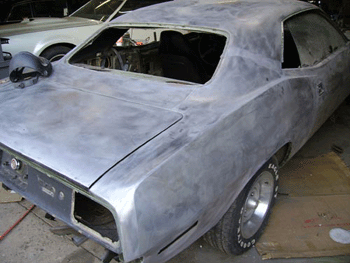
With the engine running again and the mechanicals checking out OK, we turned out attention to stripping the body for painting. Given the budget on this project, complete teardown and blasting was out, so we opted for chemical stripping to save time and thus cost. Its not as thorough as blasting, but if you have a decently rust free car to start with and need to save some money, its a great option to consider. |
 |
 |
 |
 |
 |
 |
 |
 |
|
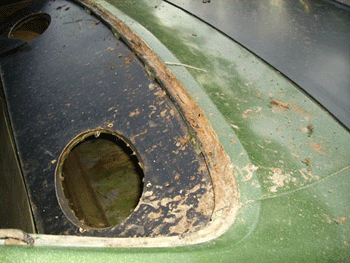
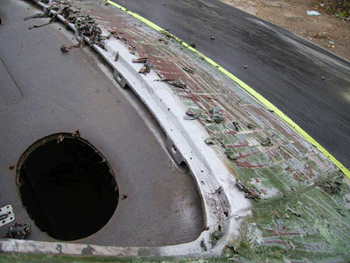
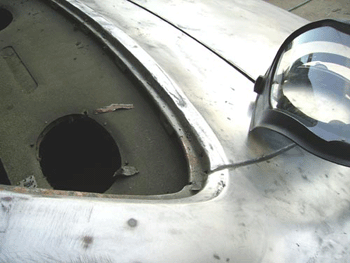
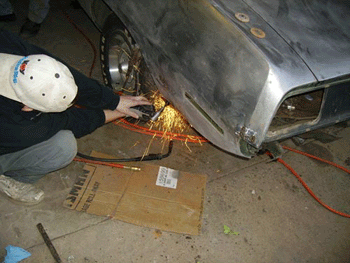
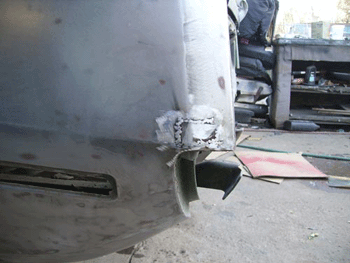
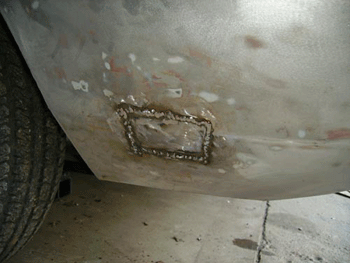
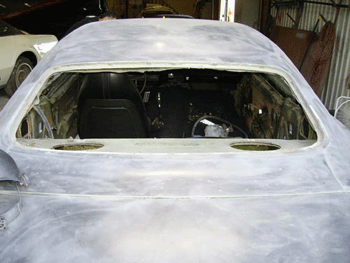
And another surprise, as we got down through the inch thick base-boat spackle: a rusted out rear window channel. Otherwise, the body was in decent shape. Most of the rust left pinholes to be welded in, and only a few larger patches. The largest of the patches were on the drivers quarter. Below you can see the progressive repair of the rear window channel and the quarter patches below that. The rear window channel disappeared for a stretch of about 7 inches and then again in 2 to 3 inch chunks to the center of the window opening once the rust was ground away. To repair this, a hand formed patch was built and welded in. |
||
 |
 |
 |
 |
 |
 |
|
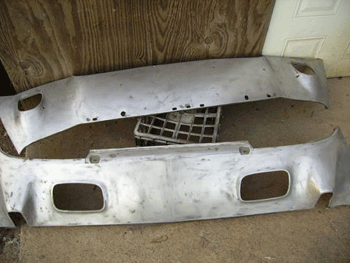
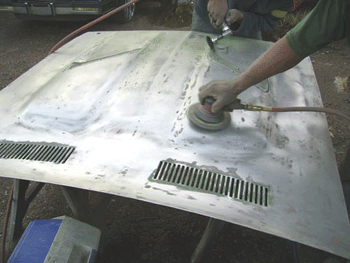
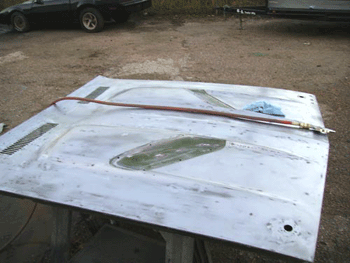
Now we finish stripping the rest of the panels (photos
below).
|
 |
|
 |
 |
 |
|
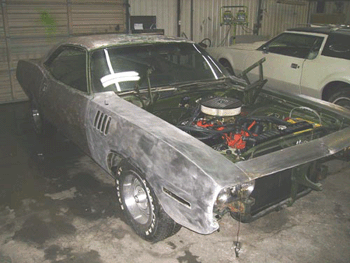
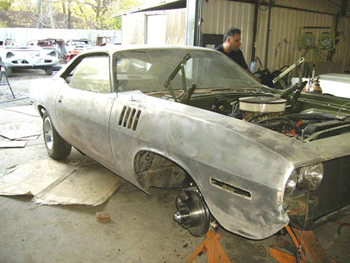
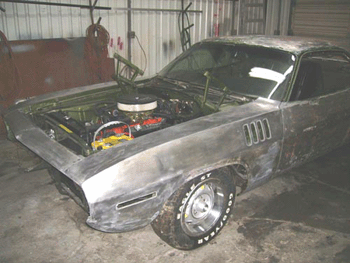
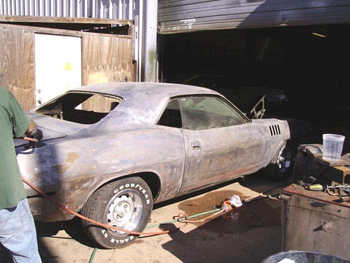
Below: Photos of the chemical stripping completion and prepping metal for bodywork and primer. Once the metal is bare, we coat the car with a 'wash' primer. This allows us time to do our bodywork without any flash rusting. Once the bodywork is complete, this car didn't need a surfacer so we moved right into our primer of choice. |
||
 |
 |
 |
 |
 |
 |
 |
 |
 |
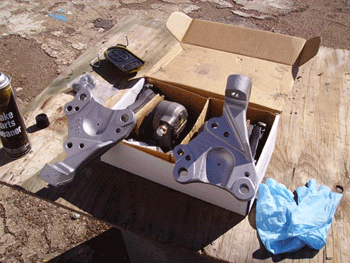
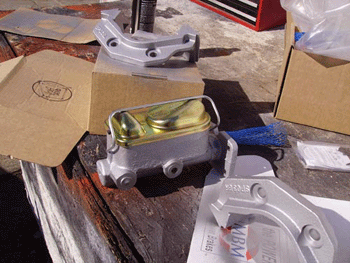
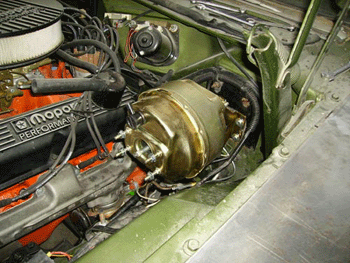
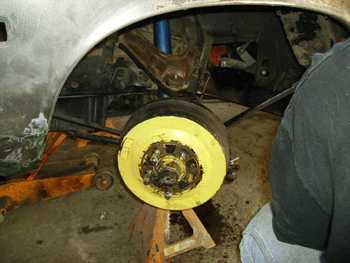
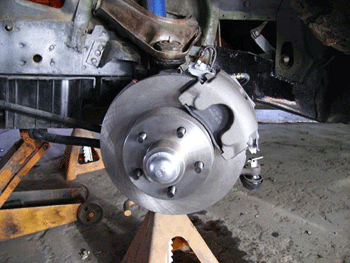
| Before we get too far on the bodywork, our steering and brake parts have arrived, so we get to work converting the old front drum brakes to power disc and upgrading the steering box. | ||
 |
 |
 |
 |
 |
 |
|
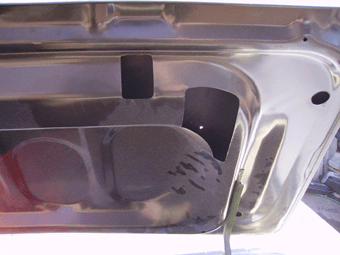
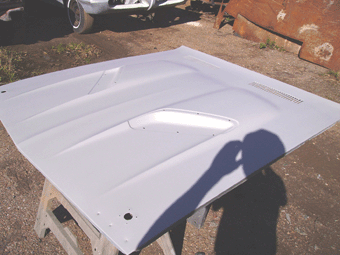
Another bit of fun. The car had an aftermarket decklid, but turns out it was a 1970. It must have been purchased a couple of years ago before there were 1971 decklids available. The problem is that the 1970 and 1971 spoilers are different and our 1971 spoiler will not fit this decklid. Fortunately we were able to put an original 1971 decklid on the car and get back to work without too much of a delay. |
 |
|
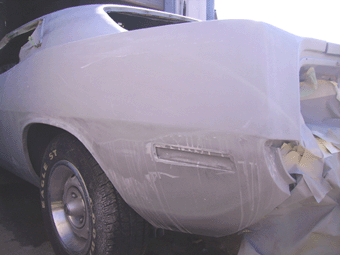
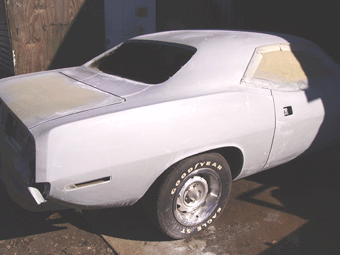
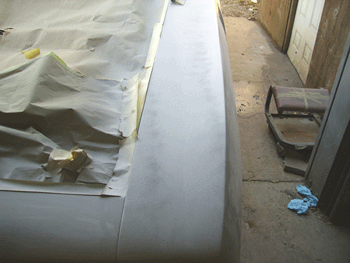
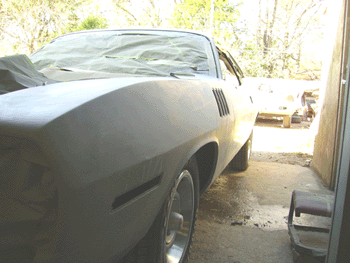
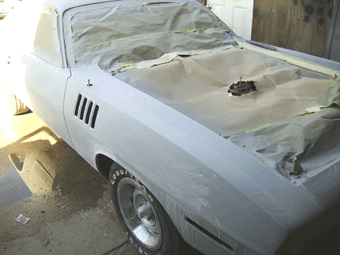
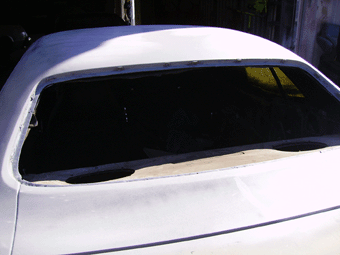
| With the brakes and steering done we can get back to the bodywork. Now it is time to put the car into primer, guidecoat and start blocking. |
 |
 |
 |
 |
 |
 |
 |
|
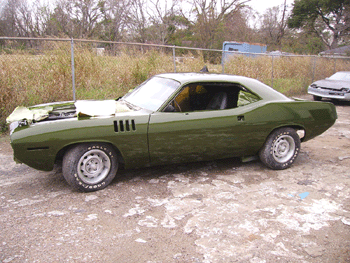
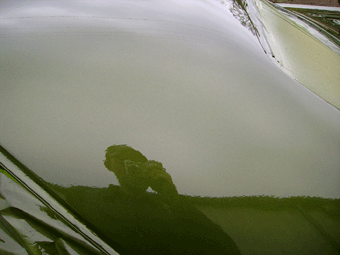
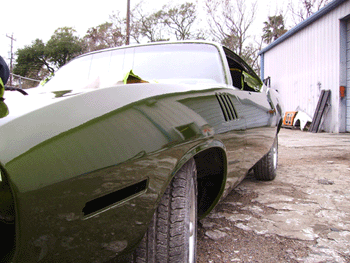
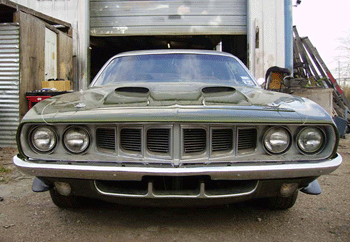
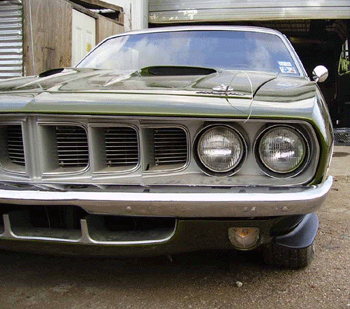
| Below: Painted | ||
 |
 |
 |
|
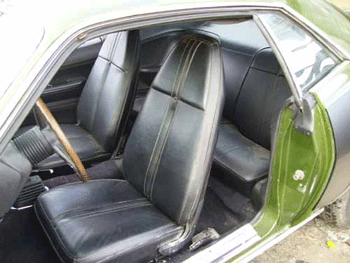
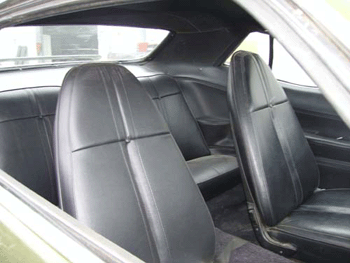
Nearly finished. Now we have began installing the interior, applying the billboards and completing final assembly. Still waiting on special road lamp light brackets from China.... CHINA! It hurts my head to think about it. |
 |
 |
 |
 |
 |
 |
 |
 |
 |
 |
 |
 |
 |
 |
 |
 |
|
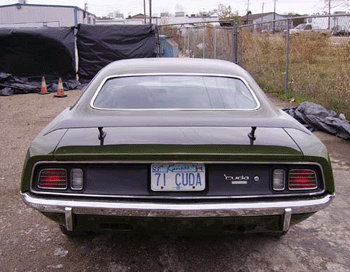
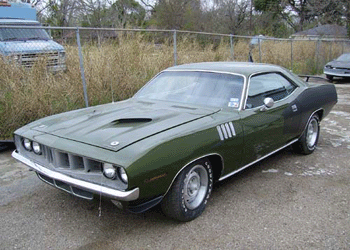
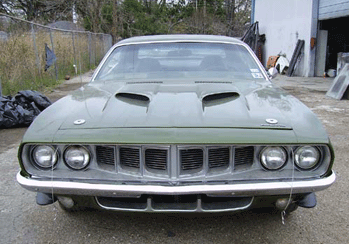
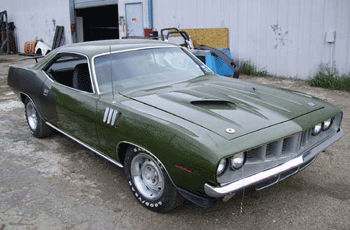
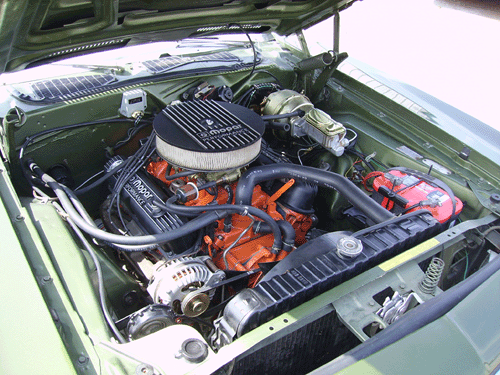
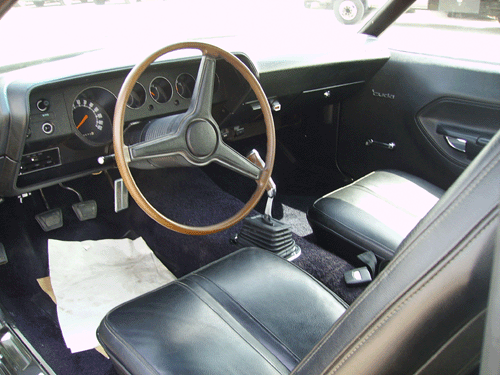
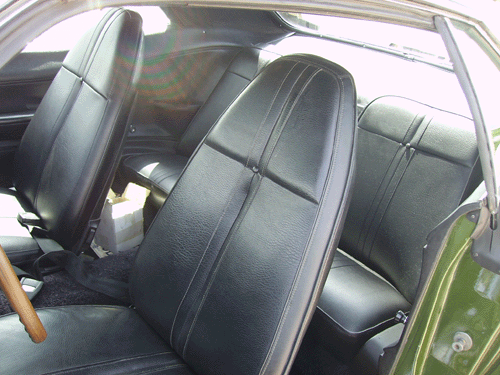
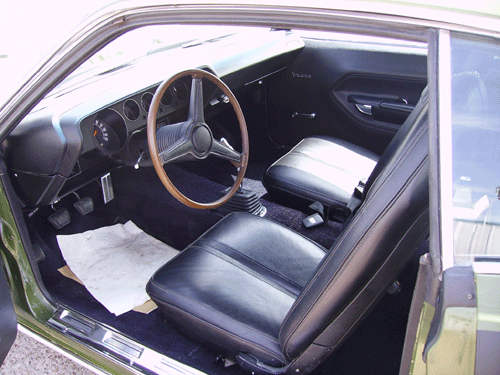
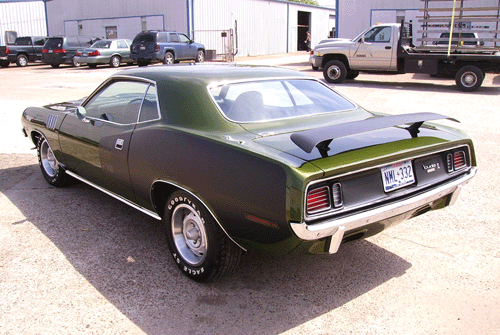
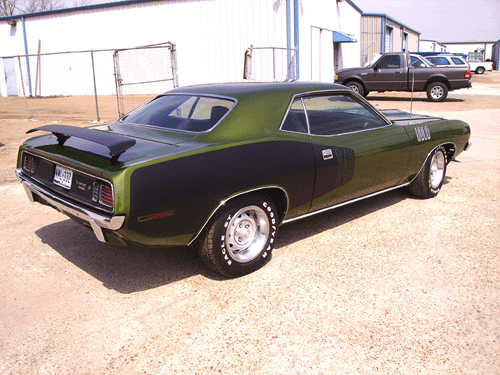
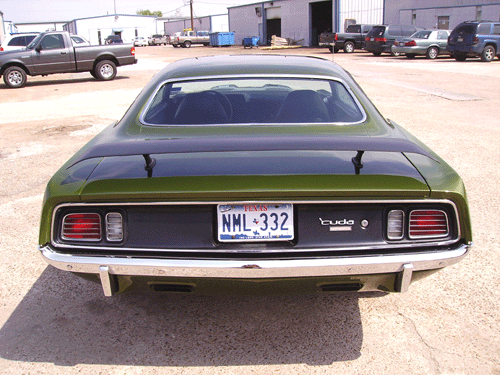
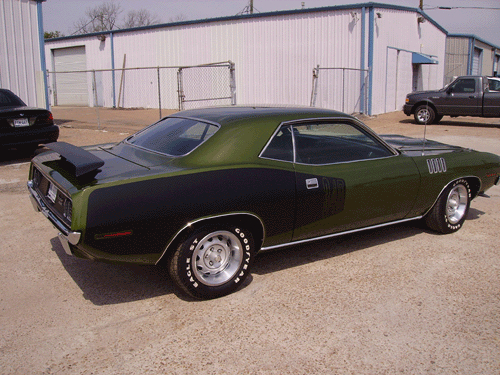
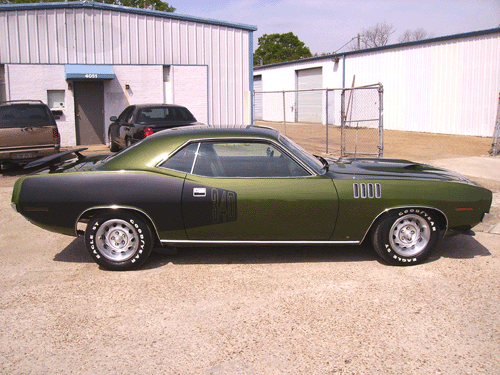
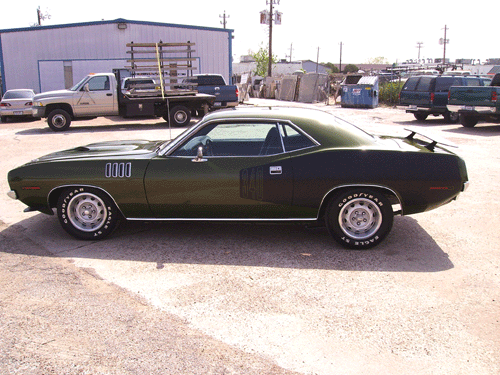
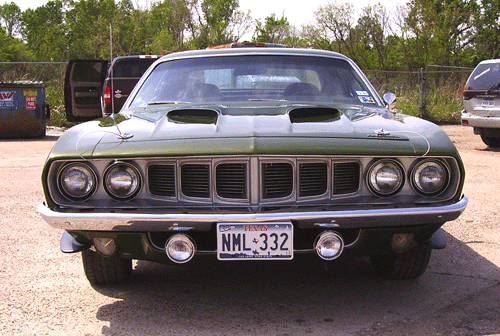
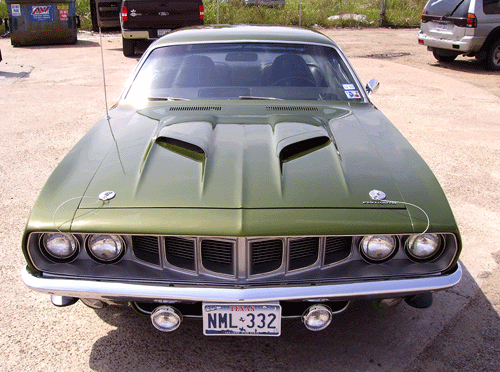
| Below: finished photos. | ||
 |
 |
 |
 |
 |
 |
 |
|
 |
 |
 |
 |
 |
|
|
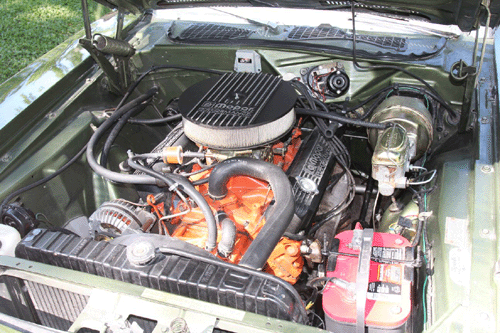
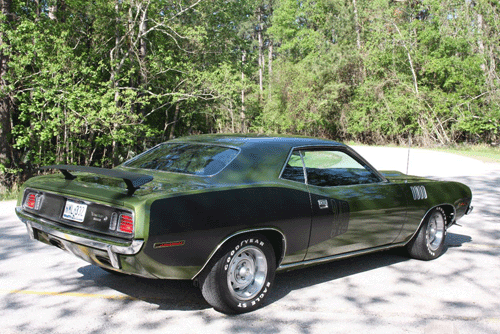
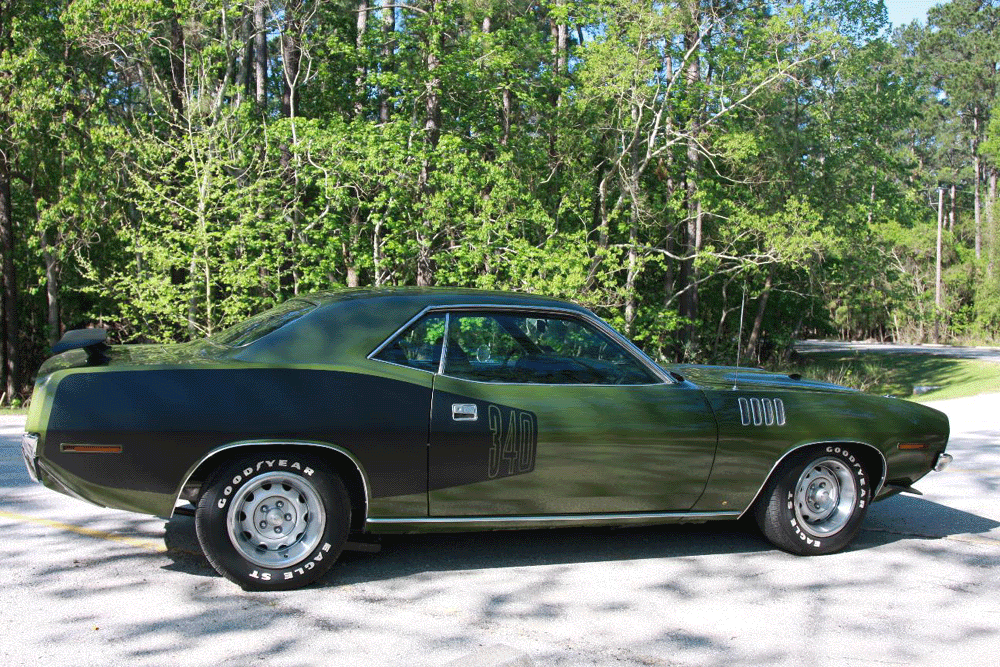
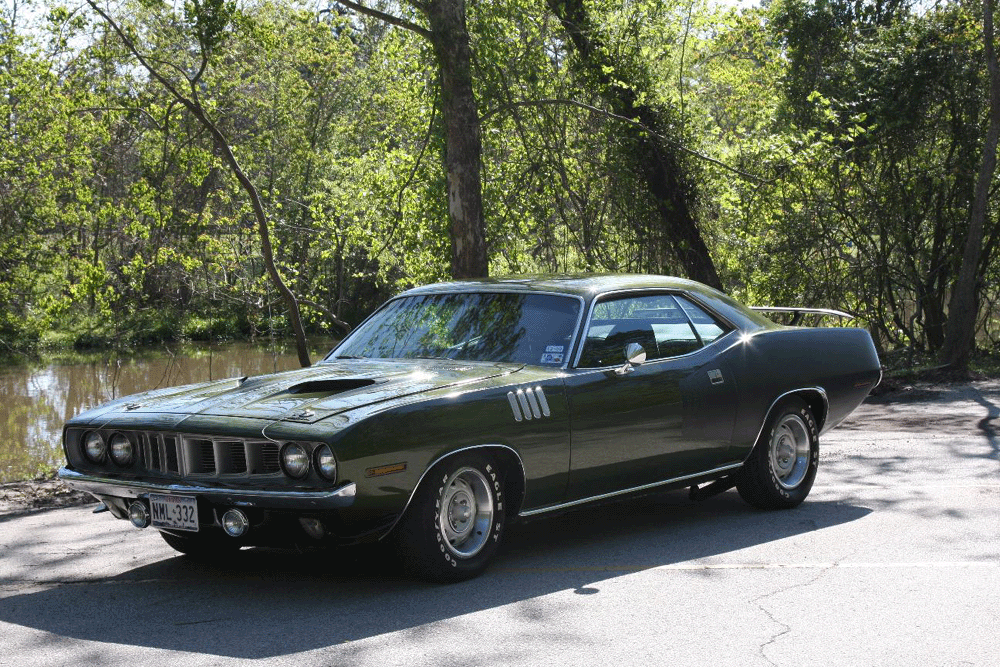
There you have it. I never tire of restoring these 71's. As a classic car enthusiast its one of the most rewarding cars you can build, and as a collector its certainly at the top of the list of cars to own. I hope the client gets many years of enjoyment out of this particular treasure, and from time to time is able to remember his brother fondly either while partaking of a lazy Sunday afternoon drive or squealing tires at a stoplight. To be a small part of a families' history in that way for me is especially rewarding. Thanks for reading. |
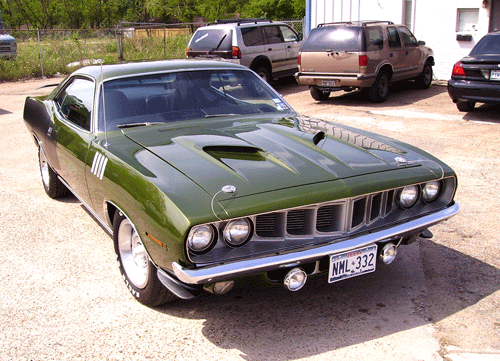 |
| The customer later sent me these photos of the car at his home. |
 |
 |
 |
|
 |
|
|
|
|
For information on
replica or restoration services: BKautomotive@sbcglobal.net
|
|