

 |
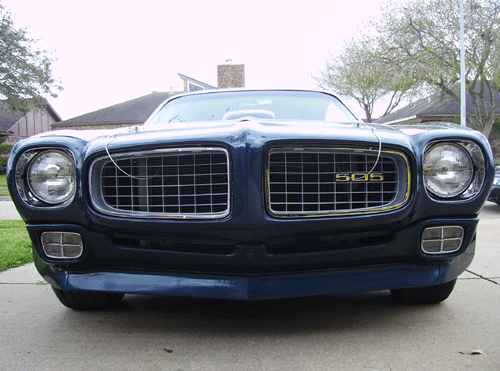
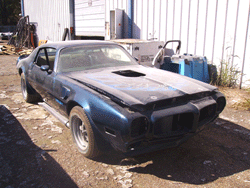
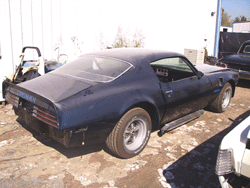
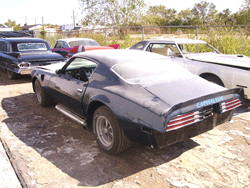
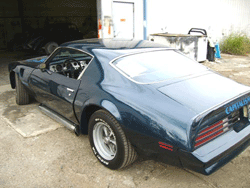
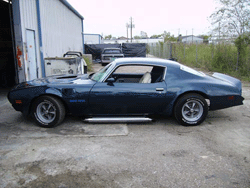
1974 Pontiac Trans Am
|
||||
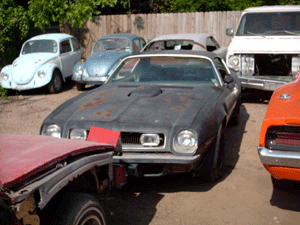 |
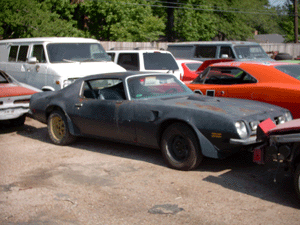
The object on this build: Street Machine, ground-pounder for weekend use and complete restoration. Our customer purchased the car 1 year old in 1975. Everything is original, including the 455 under the hood. The engine is a 2-bolt block, so we have recommended no more than 550HP and will have to go with aftermarket heads to reach that.
|
 |
|||||||
|
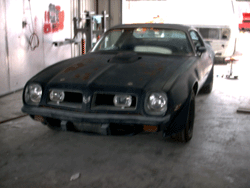
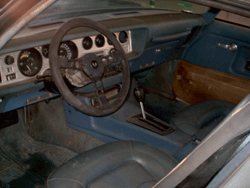
Car gets stripped. |
 |
 |
 |
|
|
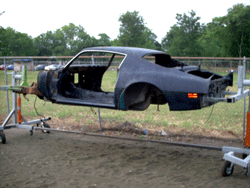
The car gets put on the twirler, and glass beading begins. |
 |
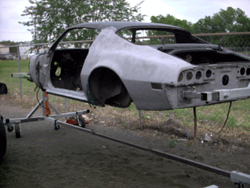 |
The rust on this car was mostly confined to the rear lower quarters and trunk/tailpanel area. | |
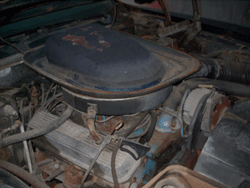
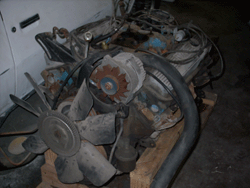
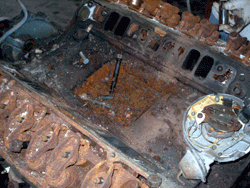
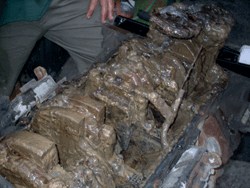
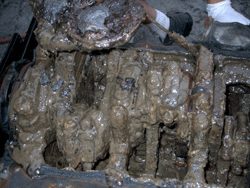
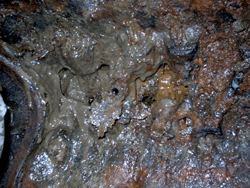
| We may end up with an aftermarket block, the 455 was in terrible shape. Here is what we found. |
 |
 |
 |
|
| After much deliberation, the customer decided it wasn't worth doing half-assed, especially in light of this mess. The kid gloves are off, time to make a serious custom designed Resto-Mod. |
 |
 |
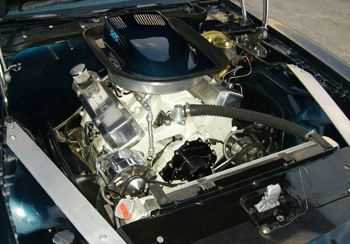
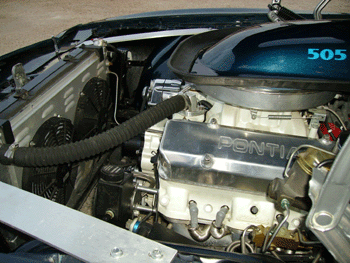
New driveline: Custom IA2 505 650HP engine and TH400 to match with a Dana 60 from Strange putting the power to the pavement. The rest of the design will be custom as well. | |
|
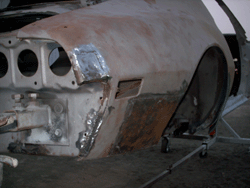
Panel patching. |
 |
|||
|
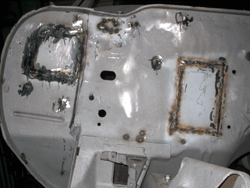
A/C removal |
 |
|||
|
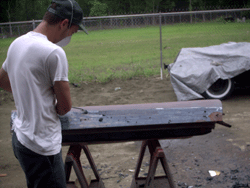
Chemical Stripping |
 |
||
|
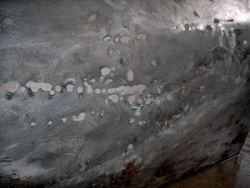
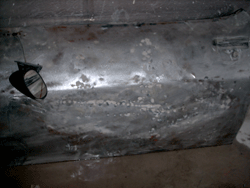
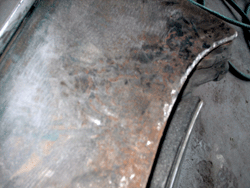
The owner said he bought the car a year old in 1975,.. but we found it had been in a major collision and received dealership-style repair work as a newborn. In addition, once we were to the steel, we found previous repair from another accident. |
 |
 |
 |
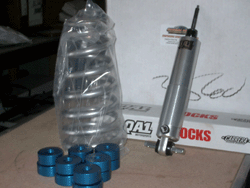
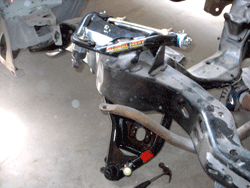
| And then the suspension! Highest quality and state of the art. We upgraded to fully adjustable QA1 coil overs in the front with Global West tubular control arms upper and lower, Hotchkiss leaf springs and racing sway bars with solid and polyurethane bushings. The steering box is a racing 12:1 ratio AGR unit. | 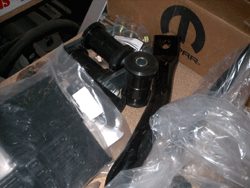 |
 |
 |
|
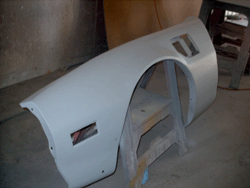
Fenders after repair and priming. |
 |
||
|
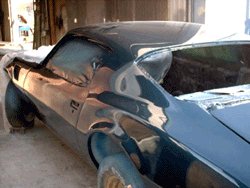
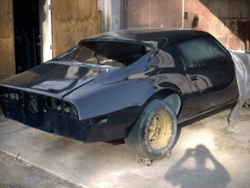
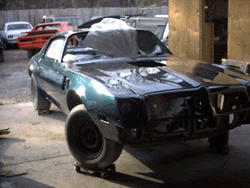
Finally the color added! 1974 Pontiac Admiralty Blue. I kept the color code to use later, its just that awesome. |
 |
 |
 |
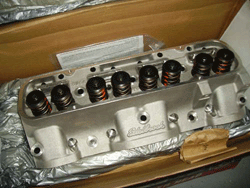
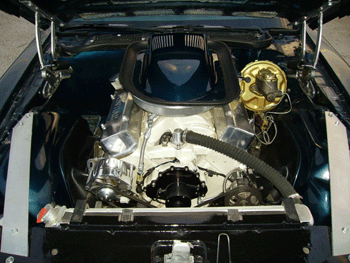
| We have now been waiting a full year for the custom engine from Indian Adventures, but it is finally here. It is an aftermarket IA2 455 block bored and stroked to a 505c.i. putting out about 650HP! We went with edlebrock heads with major porting work. | 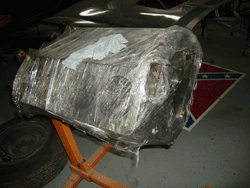 |
 |
 |
|
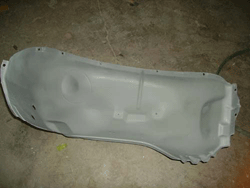
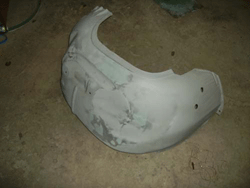
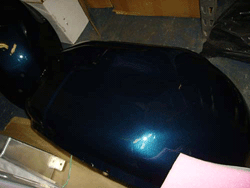
Preparing, priming and painting the inner fender wells. |
 |
 |
 |
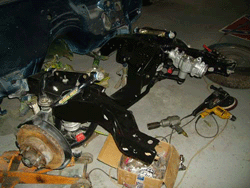
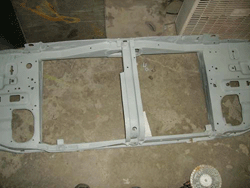
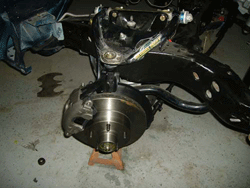
| Front disc brake assembly and core support repair and priming. |
 |
 |
|
|
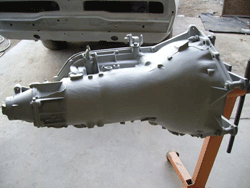
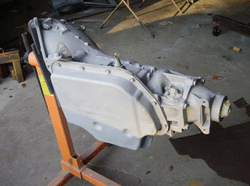
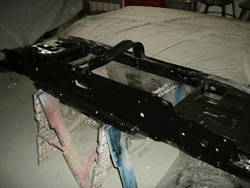
Core support painted, and transmission prepped and primed, ready for custom paint. |
 |
 |
 |
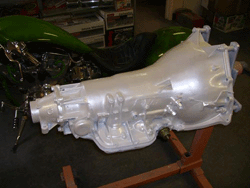
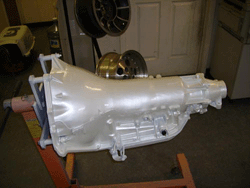
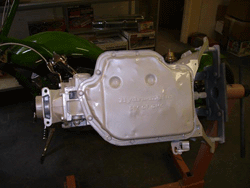
| Transmission painted in custom pearl white. |
 |
 |
 |
|
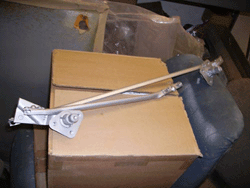
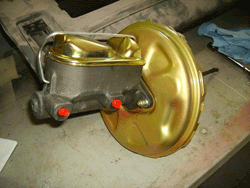
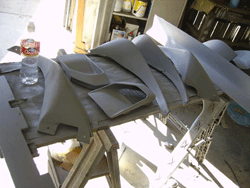
Here you see the wiper assembly and power brake assembly completely restored. Last photo shows the fender flares prepped for paint. |
 |
 |
 |
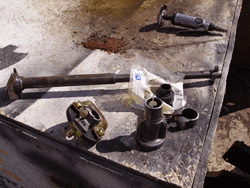
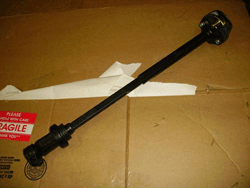
| We also completely restored the steering rod assembly. |
 |
 |
|
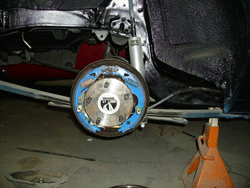
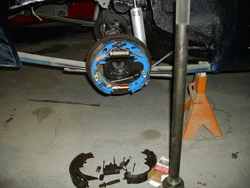
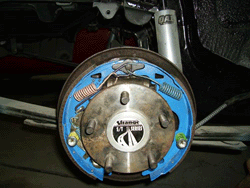
The customer wanted to keep the rear drum brakes, so we added the factory drums to the Dana 60 rear end and completely restored them. Drum brakes? Hmm, where's that liability waiver...? |
 |
 |
 |
|
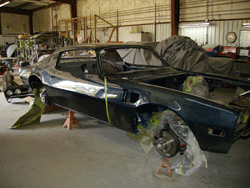
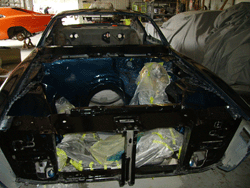
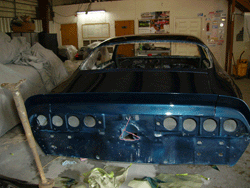
Rear spoiler painted and installed, and front end body assembled. |
 |
 |
 |
|
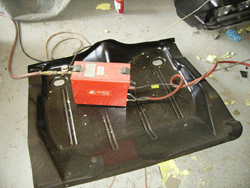
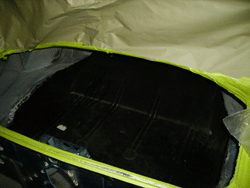
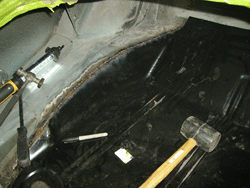
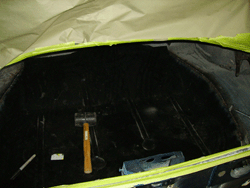
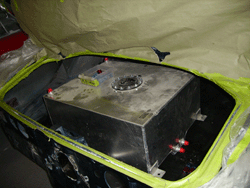
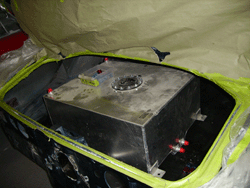
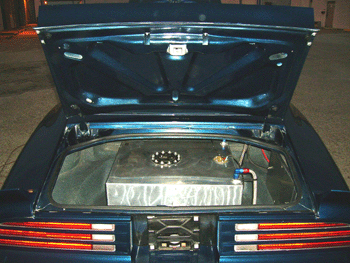
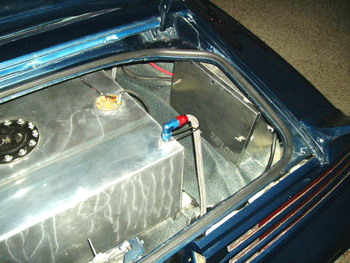
The rectangular fuel cell wouldn't fit in the trunk correctly due to the odd shape of the 74 trunk. We removed the original trunk and replaced it with a 1970 trunk pan that was squared symmetrical and allowed fuel cell fitment. |
 |
 |
|
Continued work on the trunk pan installation. |
 |
 |
 |
|
Now the fuel cell fits. |
 |
||
|
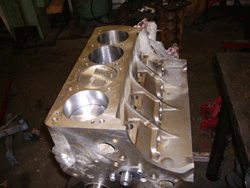
Back to the engine. Indian took our $15k and ran. It took another 6 months of machine work to finish the block machining that was not done or incorrect, not to mention all of the wrong or missing parts from our order. End result is an engine in long block form that took more than $20,000 and over a year and a half of build time. If it was easy, everyone would do it.
|
 |
||
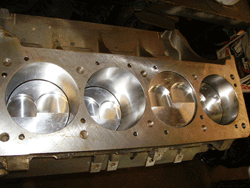
| Here you see it after all of the machine work. Indian has of course went out of business and after years of faithful service decided to let us have it right up the tailpipe as they floundered. But thats OK, we are used to doing everyone else's job anyway. | 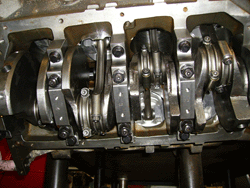 |
 |
|
|
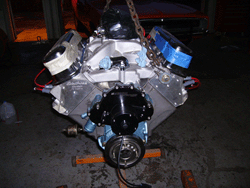
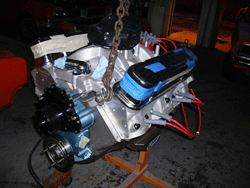
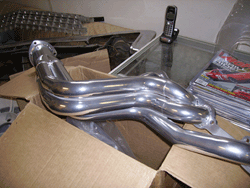
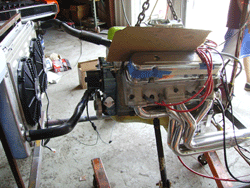
Finally the wait is over. The engine is assembled and ready for a test run. The pipes are from Doug's Headers. |
 |
 |
 |
| The test run went perfectly. The engine winds up fast and you can feel the power. Can't wait to get it in the car. | 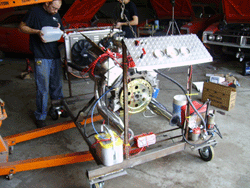 |
 |
 |
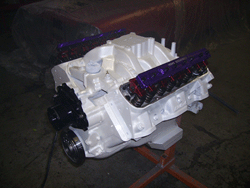
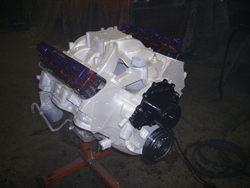
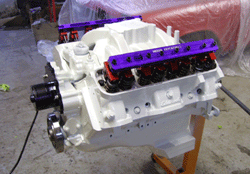
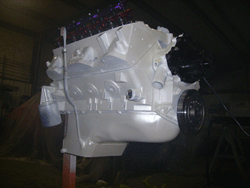
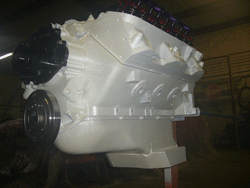
| Here is the engine after paint. Still looking for valve covers that fit, I assume I'll have to build them from scratch, then we'll do some custom paintwork there as well. | 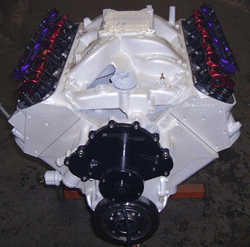 |
 |
 |
|
More shots of the 505 painted. Don't worry, the engine comes with a gremlin that lives in your engine bay and does nothing but keep the block clean. |
 |
 |
 |
|
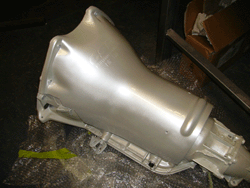
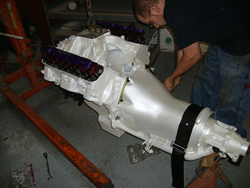
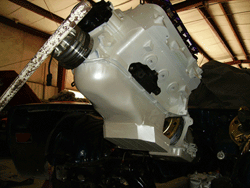
Scattershield painted and installed, time to put the driveline in the car. |
 |
 |
 |
| Everything went smooth, though the headers were a tight fit and took some persuasion, or do I mean percussion? Well, either way, it got both. | 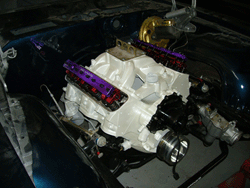 |
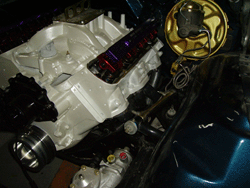 |
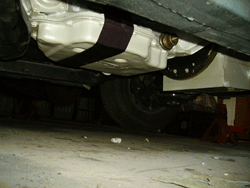 |
|
Custom brackets were fabricated to keep the pulleys symmetrical and to insure they use the same size / style belt. |
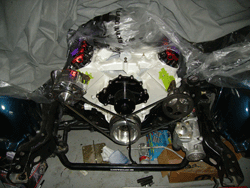 |
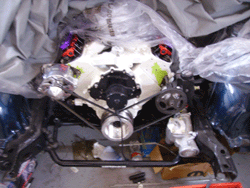 |
|
|
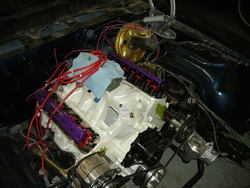
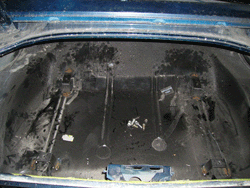
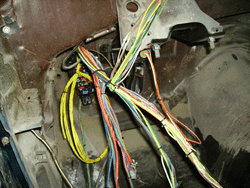
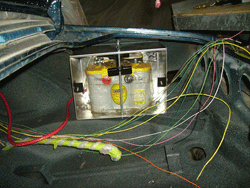
Tank brackets made, painless harness installed, and starting to wire the engine. |
 |
 |
 |
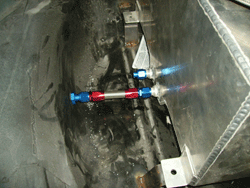
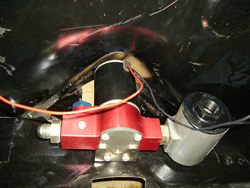
| Time to install the fuel cell, run the lines and install the BG pump and filter. | 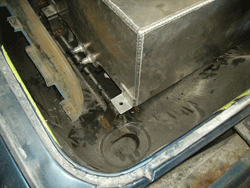 |
 |
 |
|
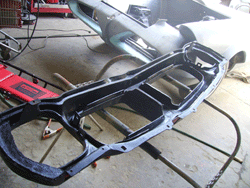
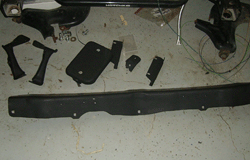
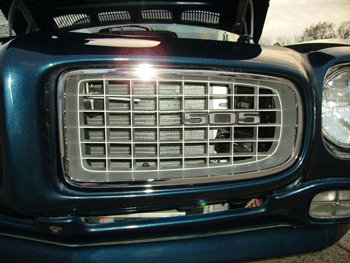
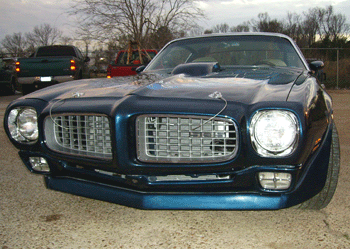
Most people will agree that the 1974 TA is not the most attractive. The customer has requested that we retrofit a 1973 front end on the car. The hardest part is getting all of the correct brackets, and a few custom made mounting points. |
 |
 |
|
|
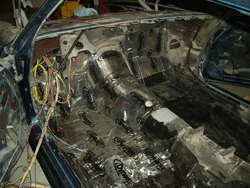
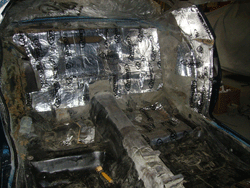
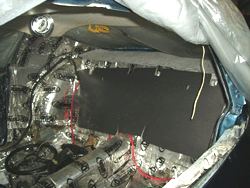
Dynamat added to the interior for superior sound suppression and insulation. |
 |
 |
|
|
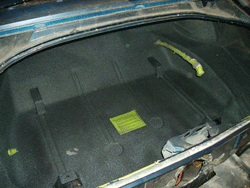
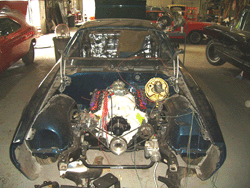
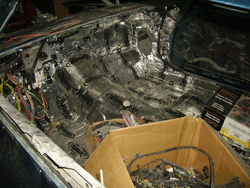
Trunk painted, engine wiring started and dynamat finished. |
 |
 |
 |
|
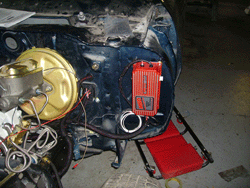
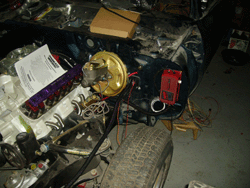
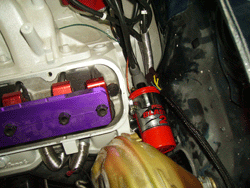
Ignition installed. This will be hidden inside the fender and not visible. |
 |
 |
|
|
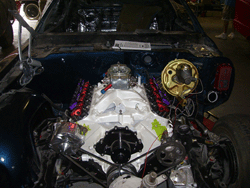
The plug wires are hidden, wiring is routed through the frame and the coil is hidden behind the engine. We wanted the engine bay to look clean, and it will. The only thing mounted on the firewall should be the wiper motor. |
 |
 |
 |
|
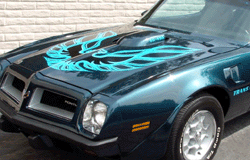
Here are some images showing the evolution of the artwork for the car. The first shot is what this decal looked like stock. We won't be using a decal, we want it painted, and want to add alittle flavor. |
 |
 |
 |
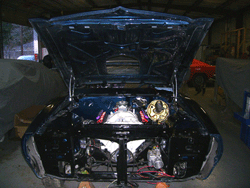
| Core support installed, hood installed with freshly powdercoated hinges, and more wiring, always more wiring. | 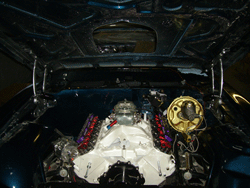 |
 |
|
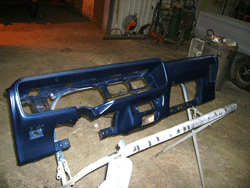
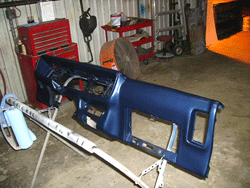
| Its time to get back to the interior, so I started by restoring the dash in a custom metallic color to match the exterior. | 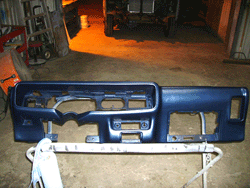 |
 |
 |
|
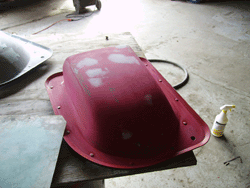
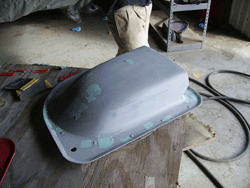
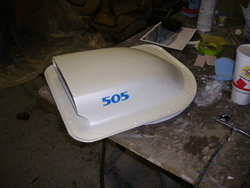
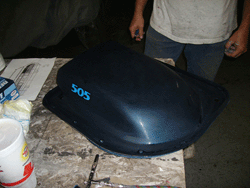
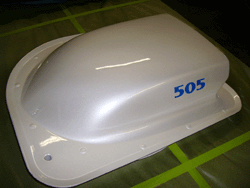
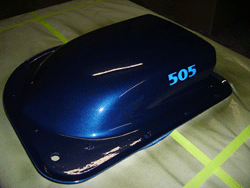
The customer couldn't decide on what would look better with this color scheme, an Admiralty Blue shaker or a Pearl White shaker... so he did both. Shaker scoops are alot like hats, one to match each pair of shoes.... |
 |
 |
|
|
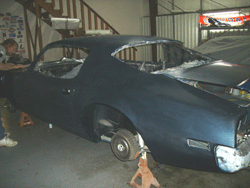
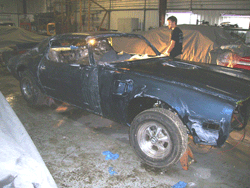
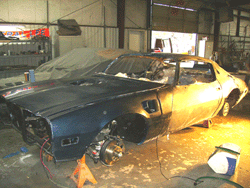
Time for the custom paintwork. Here we are cutting the car down for the detail work and a complete reclear afterwards. |
 |
 |
 |
|
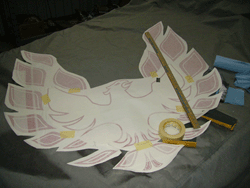
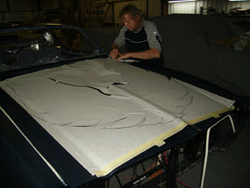
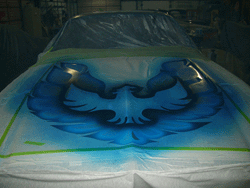
We started with a custom stencil to use for masking certain areas. The end result will be a very multi-layered assortment of custom colors, so correct masking is very important. We removed the areas where we wanted to start and applied the base. |
 |
 |
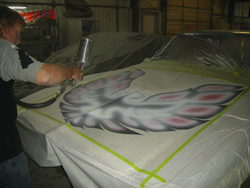 |
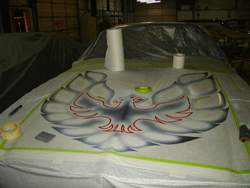
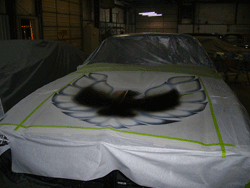
| More masking, and application of the House of Kolors black base. | 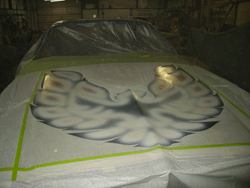 |
 |
 |
| Finally a carefully laid pearlized blue, faded in just the right areas to add a gradient effect. | 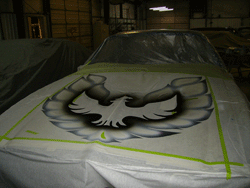 |
 |
 |
|
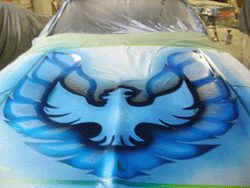
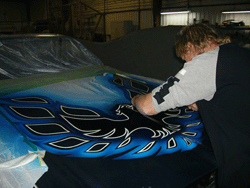
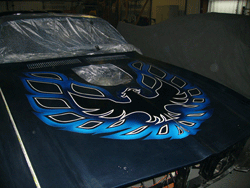
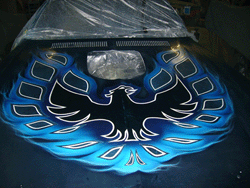
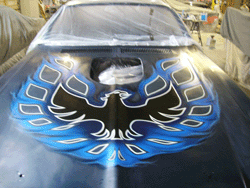
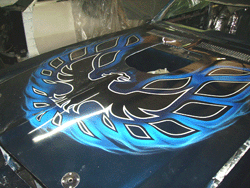
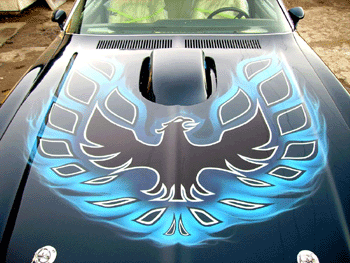
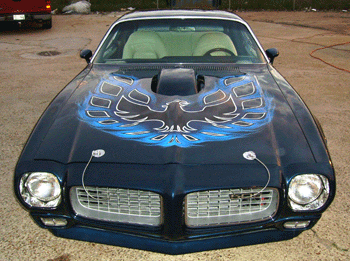
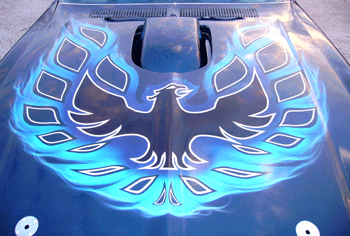
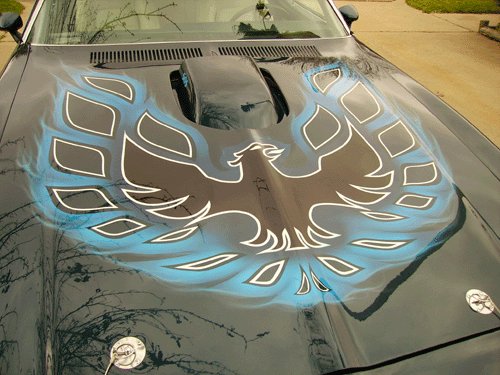
Here is the finished Phoenix. You can see the way the color rolls as you move around it. Now its time for flames. |
 |
 |
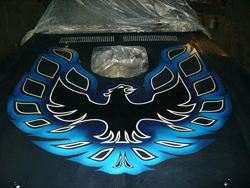 |
| Now thats a fire-chicken. | 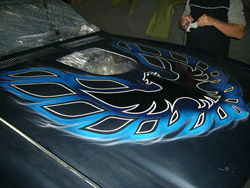 |
 |
 |
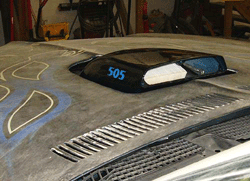
| The shaker scoops were based and labeled with the correct cubic inch disclaimer, for those who might want to know. | 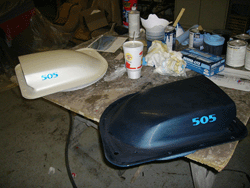 |
 |
 |
| Cleared and finished. | 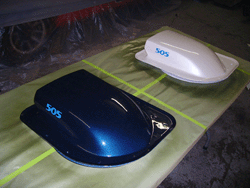 |
 |
 |
|
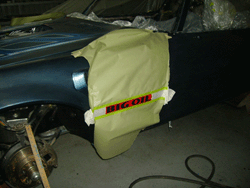
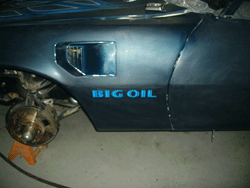
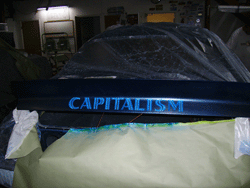
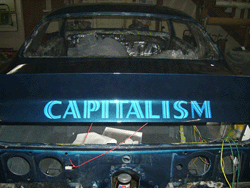
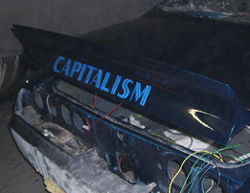
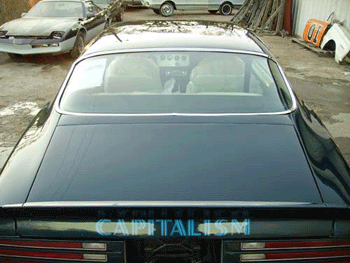
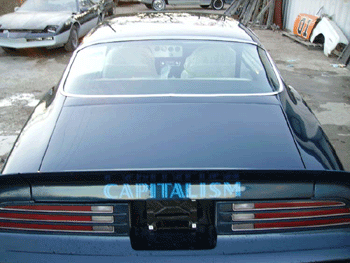
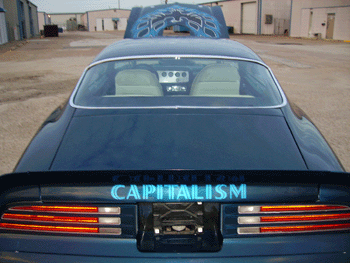
The client had some special requests when it came to the verbage on the body. I like his style. We painted everything to look identical to the original decals in style and layout with our mixture of paint. |
 |
 |
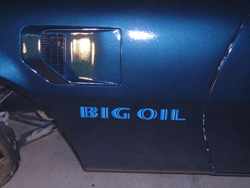 |
|
And the other side..... OK, quit guessing. It stands for: I really like his style..... |
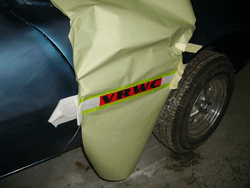 |
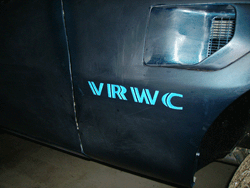 |
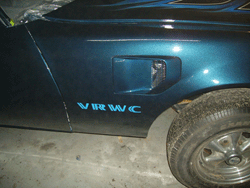 |
|
And the last thing you see as the Firebird from Hell roars past and blasts out of sight... It is a wonderful thing. |
 |
 |
 |
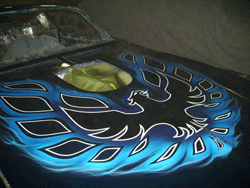
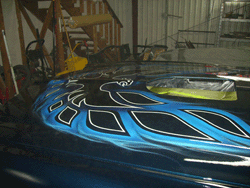
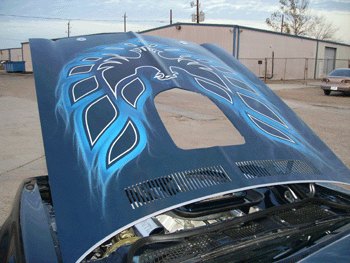
| Some shots of the hood after clearing. | 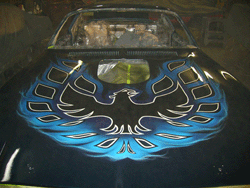 |
 |
 |
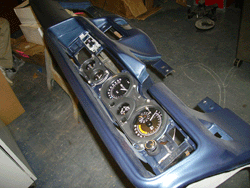
| New gauges and hardware are used to restore the dash to better than original condition. | 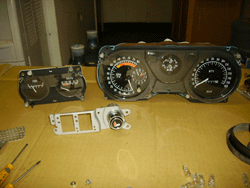 |
 |
 |
|
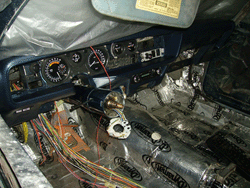
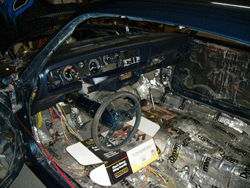
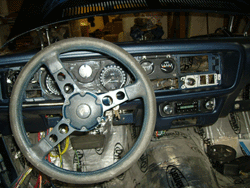
Dash, column and radio installed Not to mention a dozen special switches. The crap they put in cars after 1970.... wow. Still missing a few things for the column. |
 |
 |
 |
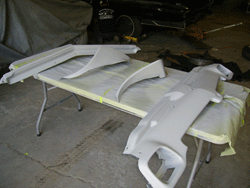
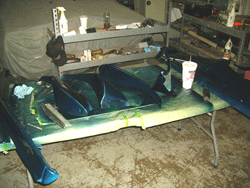
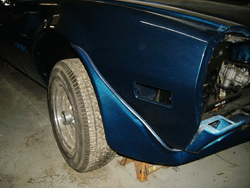
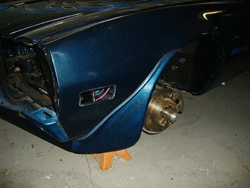
| The reproduction 1973 front body pieces arrived and are test fit, repaired, primed and painted. | 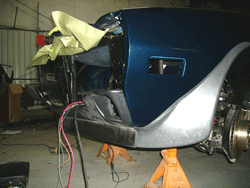 |
 |
 |
| The above pieces installed after paintwork. | 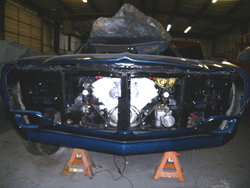 |
 |
 |
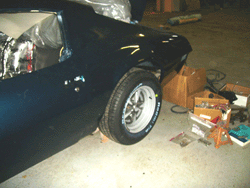
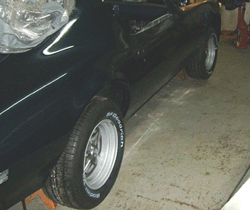
| Wheel Vintiques comes through again with a wonderful reproduction set of the original 15" Rally II Wheels. | 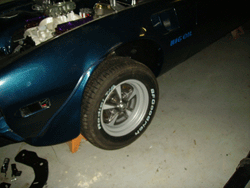 |
 |
 |
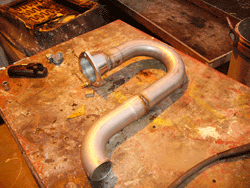
| The custom engine brackets back from powder coating, more interior installation and custom exhaust made for the addition of sidepipes at the customers' request. | 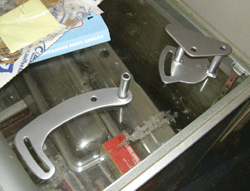 |
 |
 |
| The center caps finally arrive. Beauty rings are here as well, but will have to wait until final detailing. | 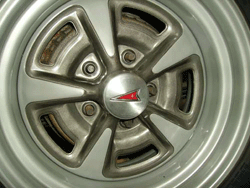 |
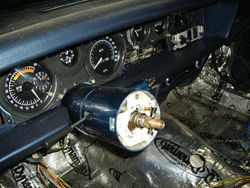
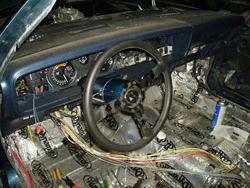
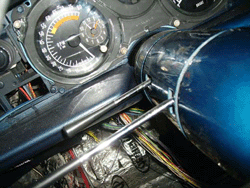
| The column parts finally arrived, so together it goes. Also, a new reproduction steering wheel and the rechromed levers. |
 |
 |
 |
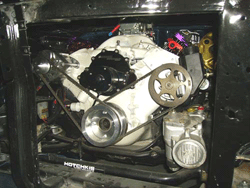
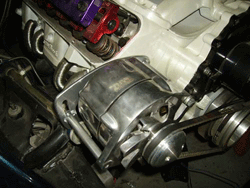
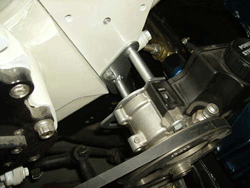
| Engine brackets and accessories installed. |
 |
 |
 |
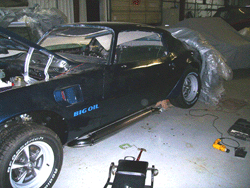
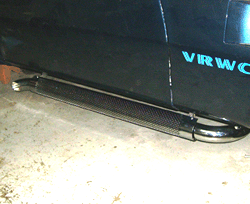
| Sidepipes installed. |
 |
 |
|
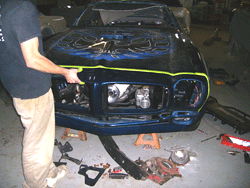
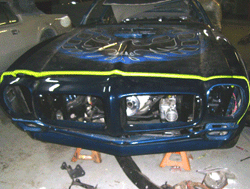
| More front end alignment. Body panel alignment can take forever, especially when your dealing with damaged or modified parts. |
 |
 |
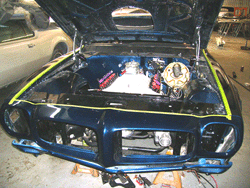 |
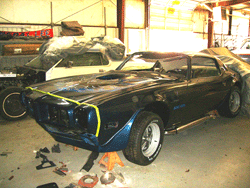
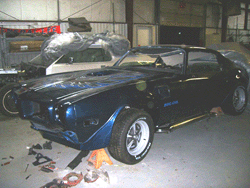
| Thats looking better. Much better than a 1974 anyway. |
 |
 |
|
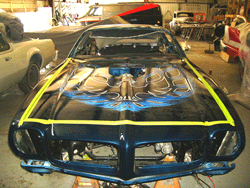
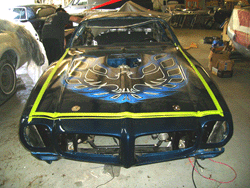
| Hood pins installed. |
 |
 |
|
|
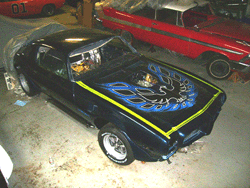
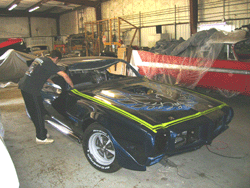
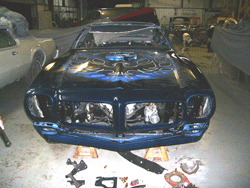
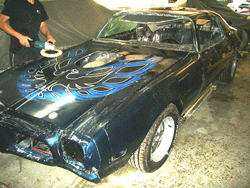
Everything seems to be going together well. It is a very sharp looking car. Next step is cutting and polishing before we move into final assembly. |
 |
 |
 |
| Polishing the car |
 |
 |
|
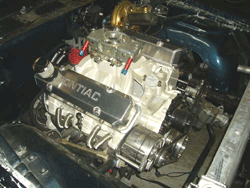
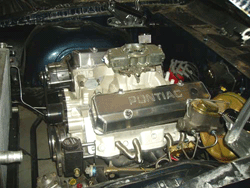
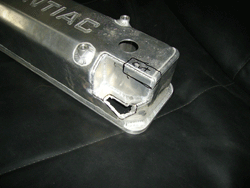
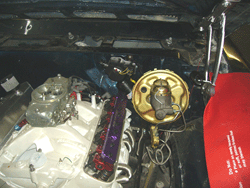
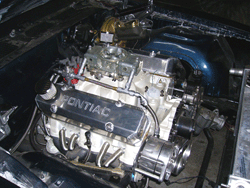
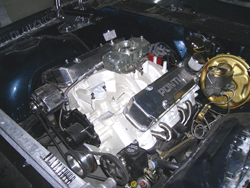
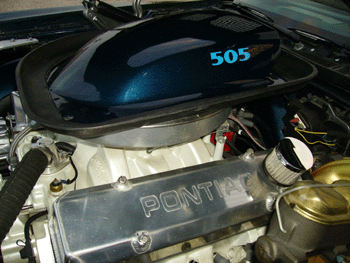
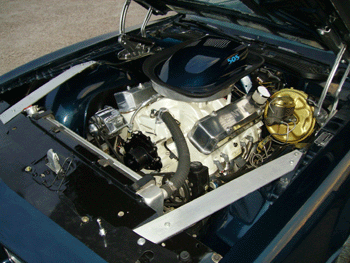
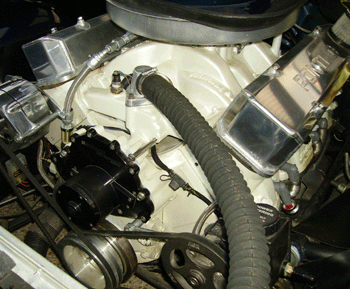
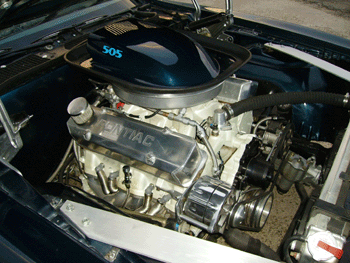
| Here are some good shots of the engine installed with accessories and custom valve covers. You can see in the last photo, we have a clearance issue with the valve cover sitting on the brake booster. This is because of the additional height needed for the stud girdles. |
 |
 |
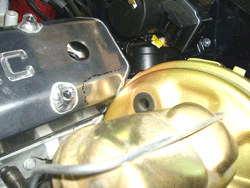 |
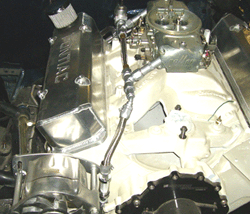
| We made the required recess, but still wasn't enough. Here you can see where I was drawing and cutting to add more clearance so the cover can go on, come off and shake around the engine bay without touching the booster. It is a tight fit, but possible. |
 |
 |
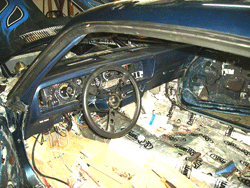
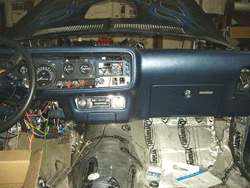
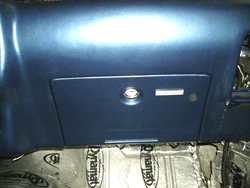
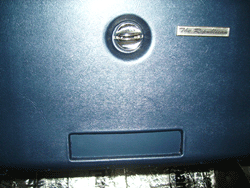
| Back to the interior. The dash is still being assembled, radio installed and glovebox finished. His glovebox door tag which used to read 'Trans Am' now reads 'The Republican'. |
 |
 |
 |
|
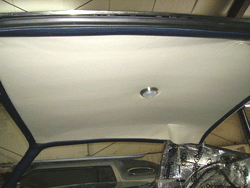
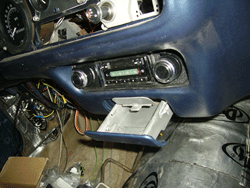
The headliner is installed as well as all of the bordering interior panels to hold it in place. On the glovebox door we had to make a block off plate as you can see since we removed the a/c. The last shot is of the ashtray finished and installed. |
 |
 |
 |
| Fuel lines and fittings installed to feed the engine. We are using a complete BG products fuel setup with their pumps, filters and regulator. |
 |
 |
 |
|
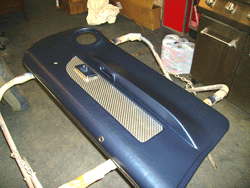
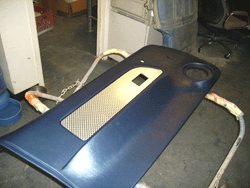
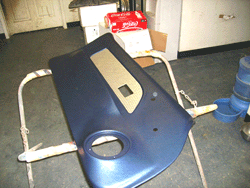
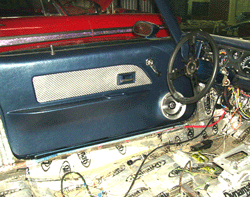
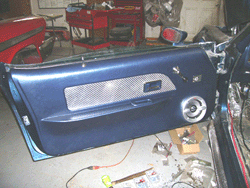
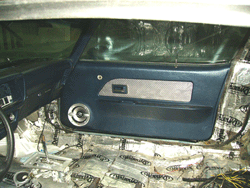
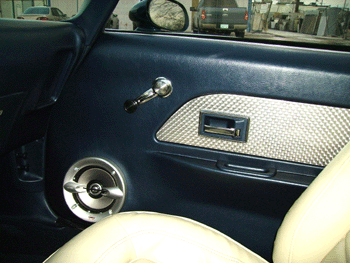
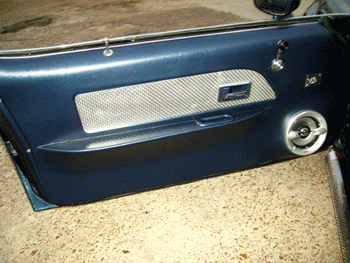
I couldn't stand the plain look of the original door panels. I really wanted to do something different. I wanted to carry the engine turned effects on the original dash into a theme we could use throughout the interior. Instead of the original panels we opted for custom made. |
 |
 |
 |
|
This allowed us the opportunity to improve his stereo system and tie into the engine turned theme as well. The center inset panel is an engine turned aluminum piece just like the dash. |
 |
 |
|
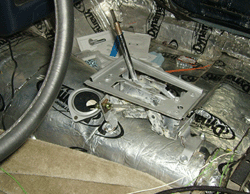
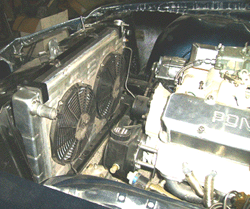
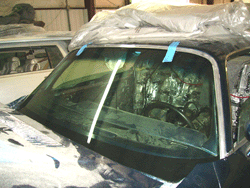
| Installation of the shifter, custom radiator, fans & shroud, and installation of the windshield and trim. |
 |
 |
 |
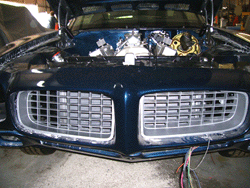
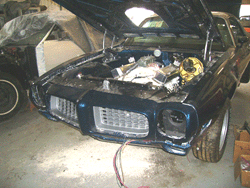
| After restoration of an original 1973 grill, we painted and test fit for photos. We'll have to make some mounting brackets but so far it looks great to us. |
 |
 |
|
|
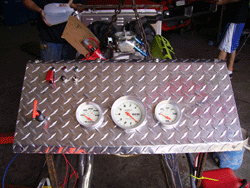
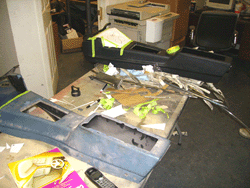
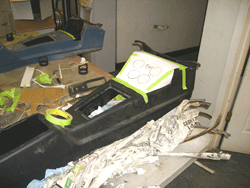
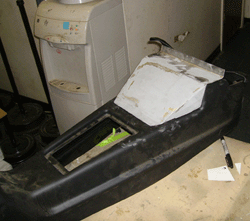
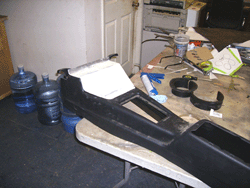
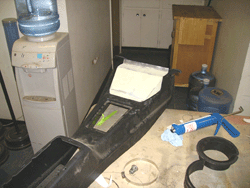
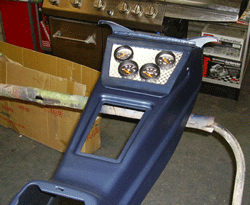
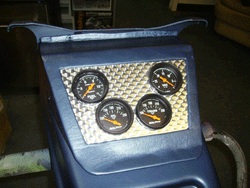
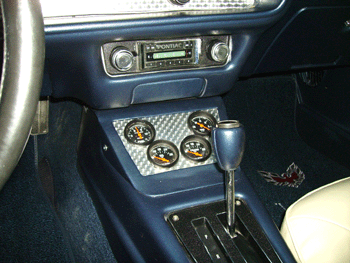
The car originally had an 8-track player installed. As the customer only had one Iron Butterfly 8-track left in his possession, it didn't seem worth trying to restore the unit. He also wanted additional gauges to monitor other readings on his now fire-breathing fire-chicken, so this seemed an appropriate location. |
 |
 |
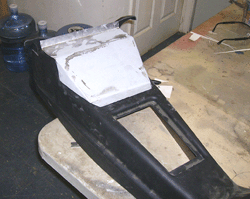 |
| We started by using the old and unrestorable console to cut up and modify for a mock. From there we decide we could alter the console and build a separate add-on unit that would appear stock. These photos follow its construction. |
 |
 |
 |
|
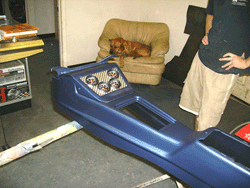
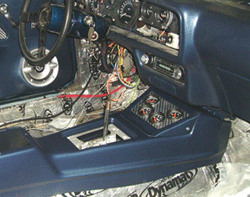
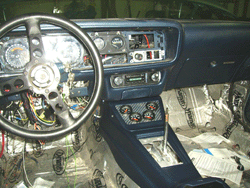
Here is the finished assembly being test fit. The gauges he added were for fuel pressure, Trans temp, oil temp and vacuum. We used the same engine turned aluminum treatment as in the dash and door panels. |
 |
 |
 |
| Here is the console being test fit into the car, as well as the passenger door panel being installed. |
 |
 |
 |
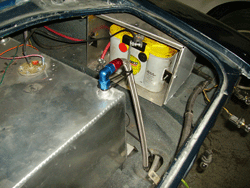
| This photo shows everything in the trunk being fit and installed. f-bodies are not known for their spacious trunks so it is a tight fit. The battery box is set sideways so that the removable lid is now a removal side wall for battery access and removal. |
 |
||
|
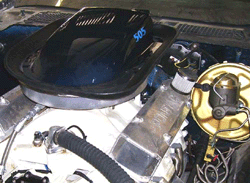
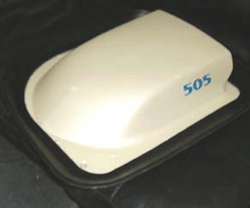
Installation of the shaker assembly. You cant install the original shaker setup on the intake we used, so we used a custom shaker assembly. Not sure which air cleaner he would want to start with, I flipped a coin and blue won. |
 |
 |
 |
|
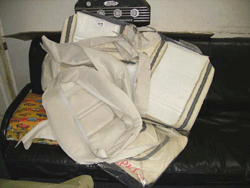
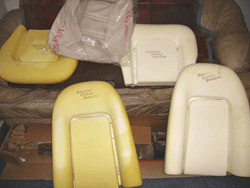
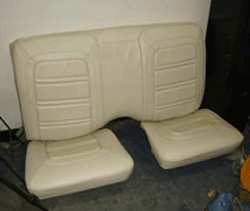
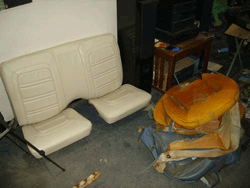
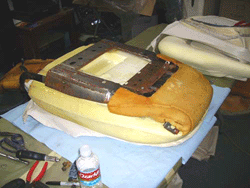
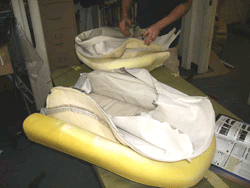
Now we turn our attention to the seats. We used a Classic Industries set this time. First you can see the upholstery kit, as well as the reproduction foam. I started with the back seat Tore the old covers off and finished the back in short order. |
 |
 |
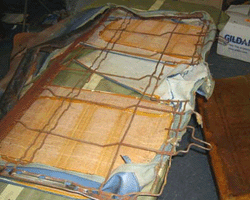 |
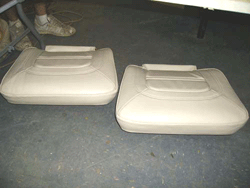
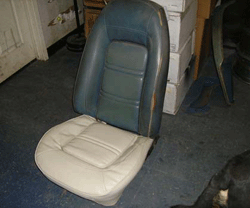
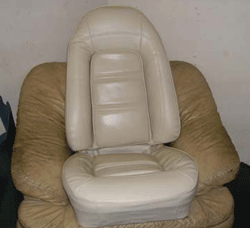
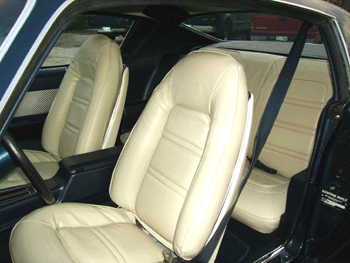
| The front seats were more difficult. This car had the deluxe horseshoe collar seats. The combination of the classic foam and seat covers (which are nice but not perfect) complicated things abit. It took some time to heat shrink the vinyl and get everything looking good, but thats what it takes. |
 |
 |
 |
 |
 |
 |
 |
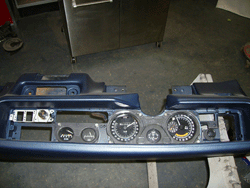
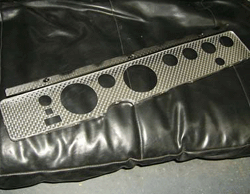
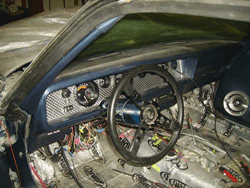
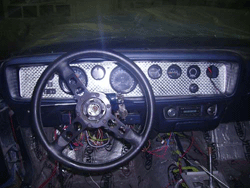
| The original dash bezel was in worn shape, and in its original form had openings for a/c vents and access panels, nothing we wanted on our finished product, so a custom made dash bezel was designed for this application, completely flush except for our required instrumentation. |
 |
 |
 |
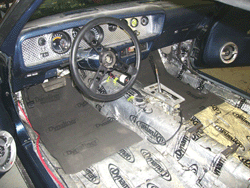
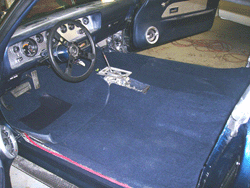
| Ready for carpet installation, we apply dynapad on top of the dynamat for additional padding and then complete the carpet installation. |
 |
 |
|
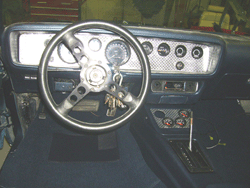
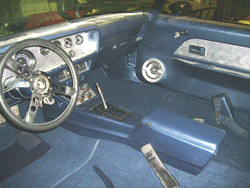
| Carpet, seatbelts, console, kickpanels and other misc interior installation. |
 |
 |
|
|
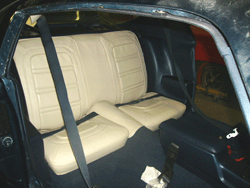
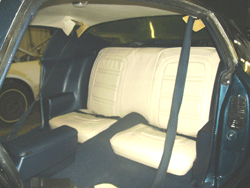
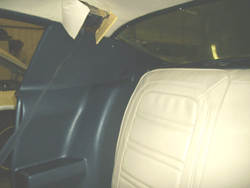
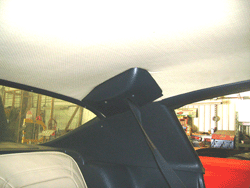
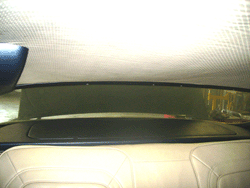
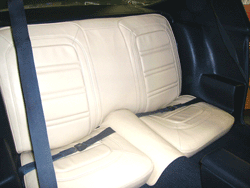
Rear seat and interior panel installation. Its difficult to see, but we also installed a custom package tray with hidden 6x9 speakers and a hidden compartment for storage. |
 |
 |
 |
 |
 |
 |
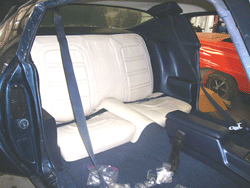 |
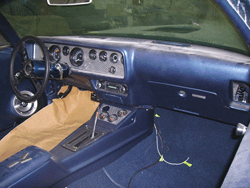
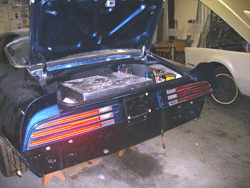
| More interior assembly photos and a shot of the taillights being installed. | 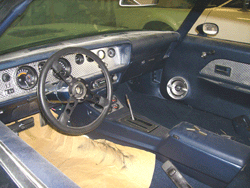 |
 |
 |
|
Its almost time for the unveiling at the World of Wheels AutoRama. Up until now, the customer has seen photos and the incomplete car but this show will be our opportunity to present the car to the customer as a finished product for inspection. Step 1: give it a bath |
 |
 |
 |
| We have been fortunate so far. The customer has given us free rein in alot of respects, from the engine color to interior and has been pleased with everything we have done thus far. We hope his reaction to the assembled car will be the same. | 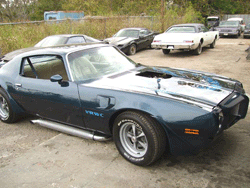 |
 |
 |
|
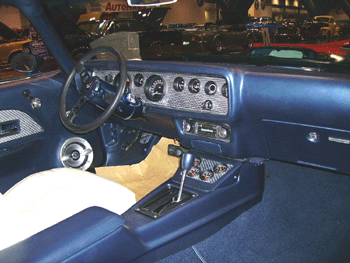
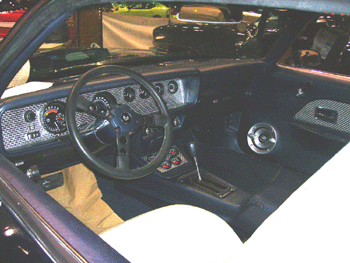
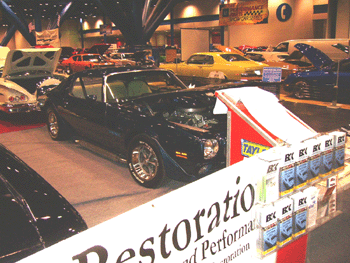
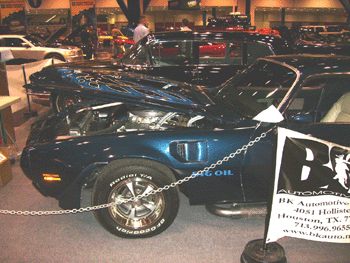
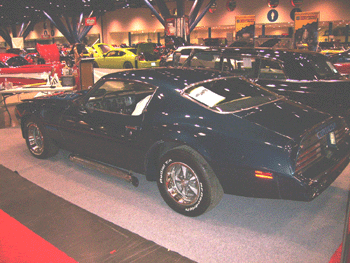
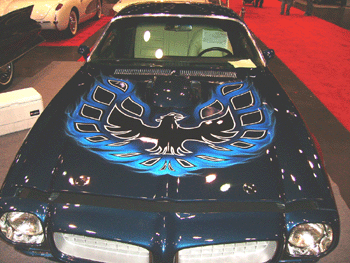
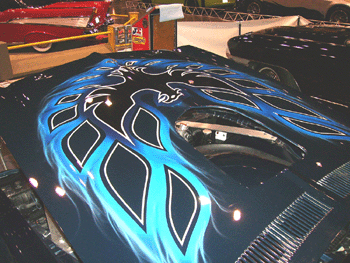
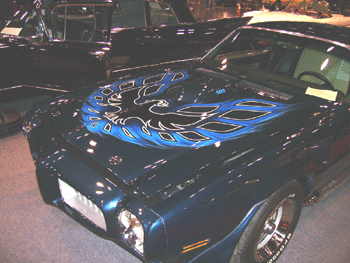
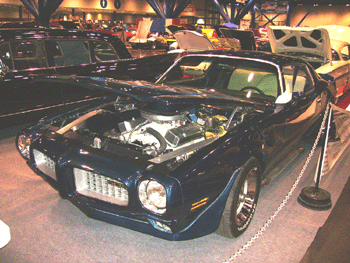
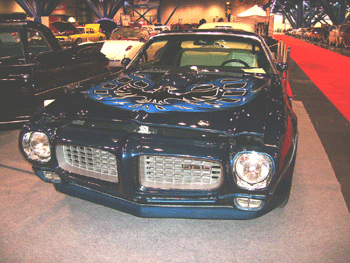
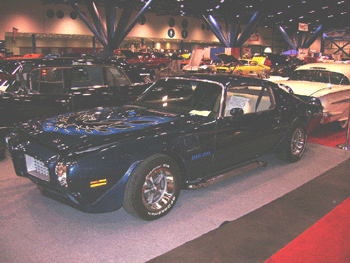
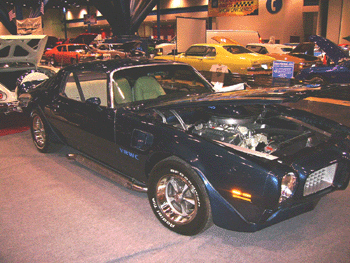
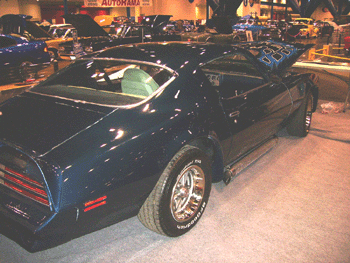
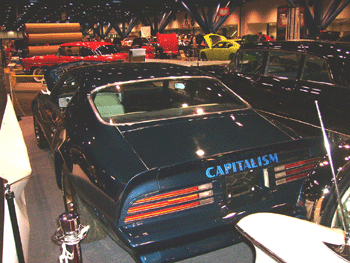
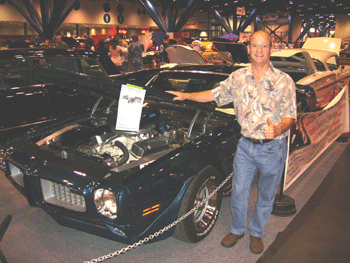
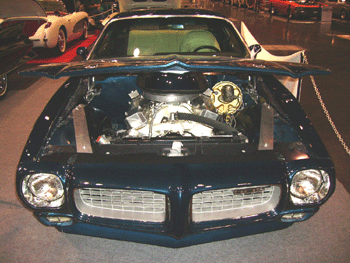
Here are the photos of the car on display with others of our in our booth at the Houston AutoRama. Enjoy. |
 |
 |
 |
 |
 |
 |
 |
 |
 |
 |
 |
 |
 |
 |
|
The car was well received at the show, and more importantly for us, by our customer. He spent most of the weekend at the show with us going over the car and was very pleased. Now we just need to get the final details finished so it can look pretty in his garage instead of ours. |
 |
 |
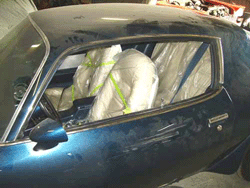
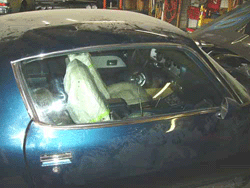
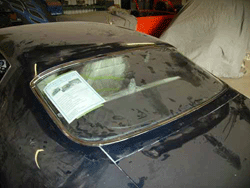
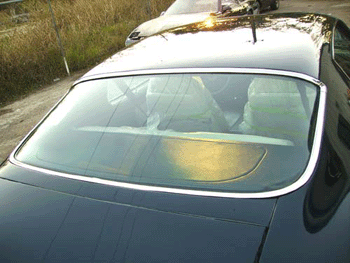
| Here we have finished installing the deluxe door trim and the chromed rear window trim. |
 |
 |
 |
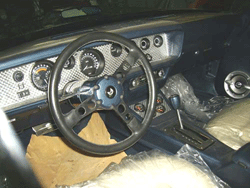
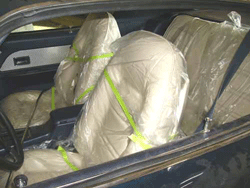
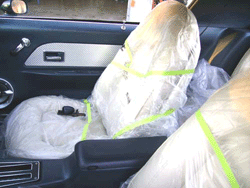
| The shifter knob, horn and seats were finished and installed. |
 |
 |
 |
|
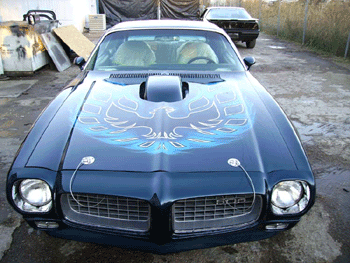
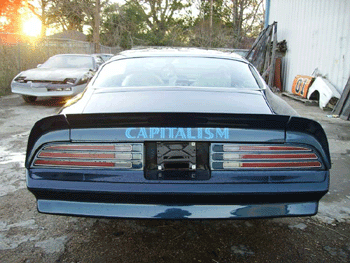
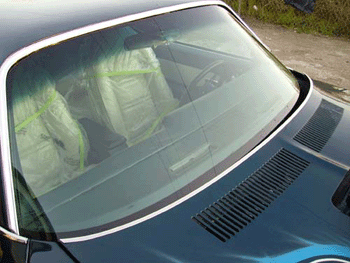
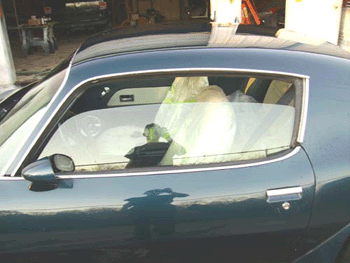
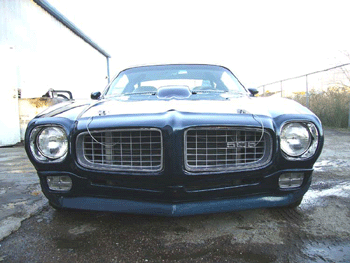
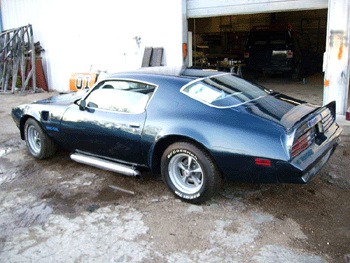
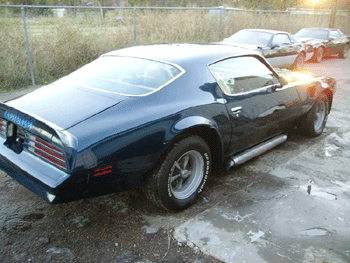
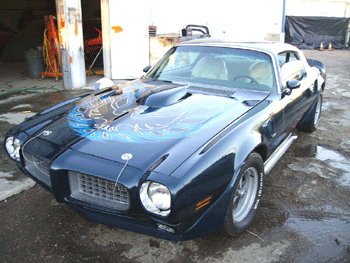
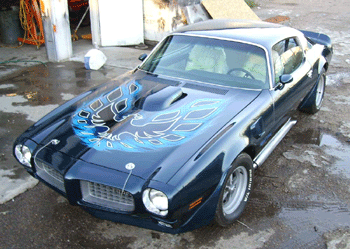
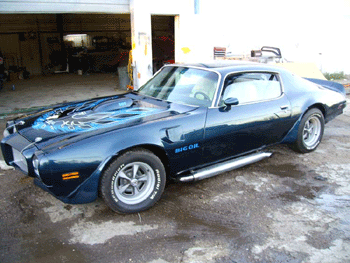
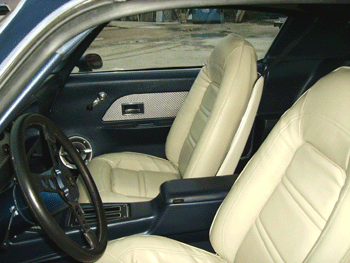
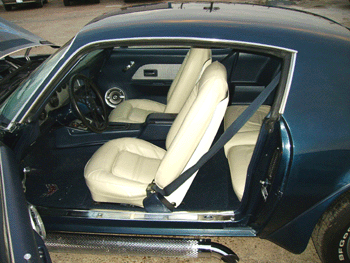
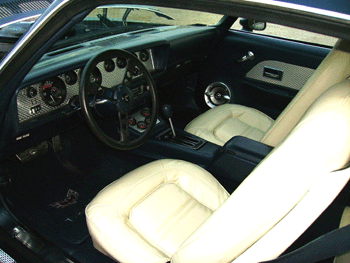
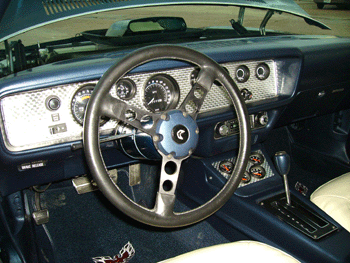
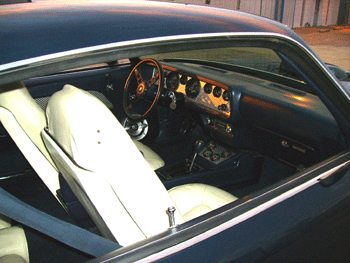
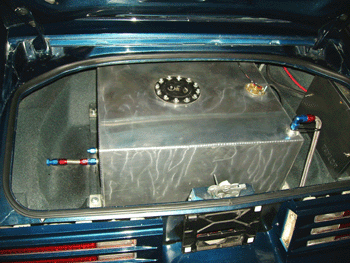
Final assembly nearly completed, we cleaned the car for inspection. Waiting now on only 2 or 3 slow to arrive detail pieces for delivery. The rear bumper currently on the car is a temporary bumper. We have a custom one-off fiberglass bumper that requires some finishing that will be installed later. |
 |
 |
 |
 |
 |
 |
 |
 |
 |
 |
 |
 |
 |
 |
 |
 |
 |
 |
 |
 |
 |
 |
 |
 |
 |
 |
|
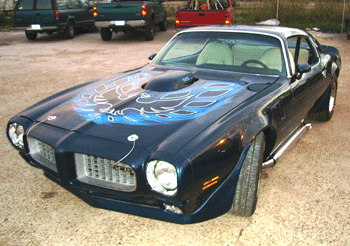
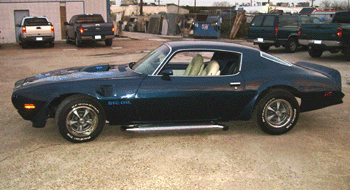
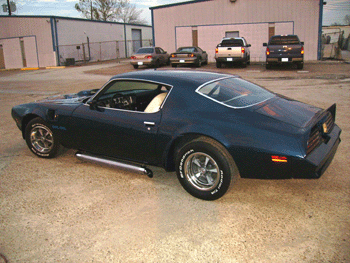
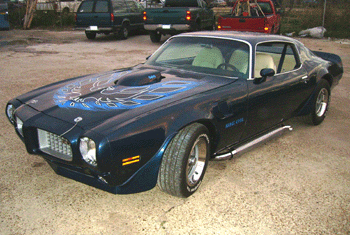
And here is the best part....
|
 |
 |
 |
 |
 |
 |
 |
 |
 |
 |
 |
 |
 |
 |
 |
 |
 |
|
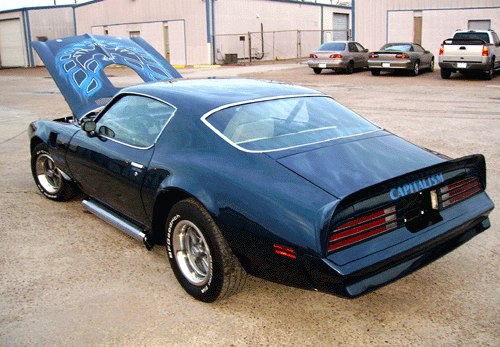
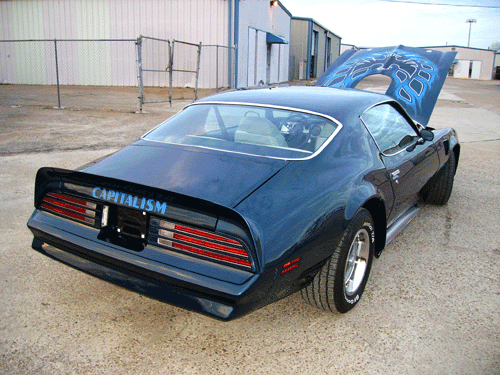
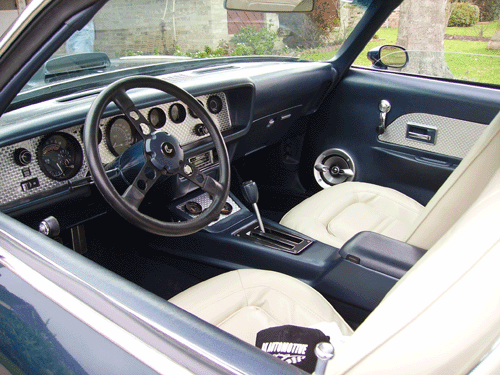
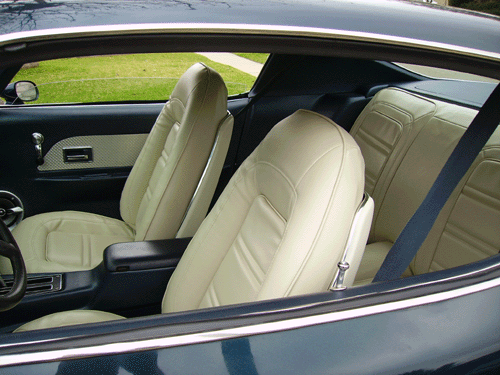
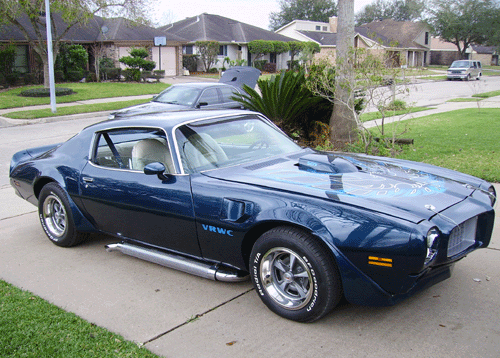
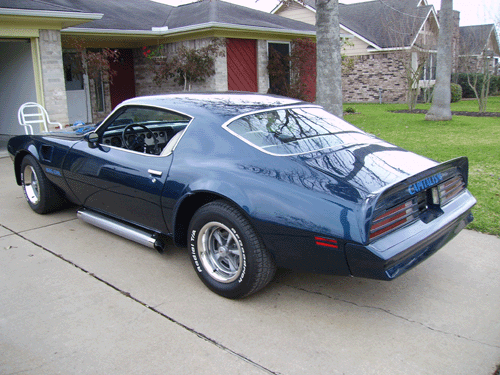
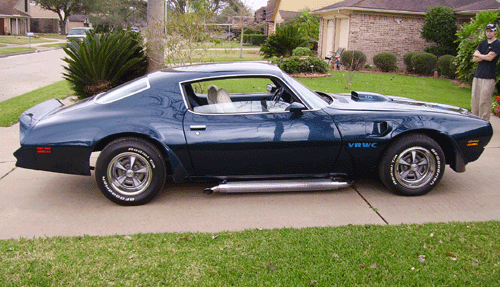
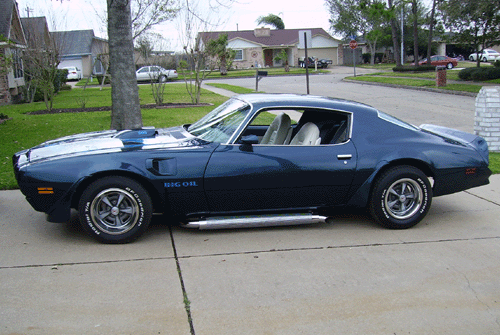
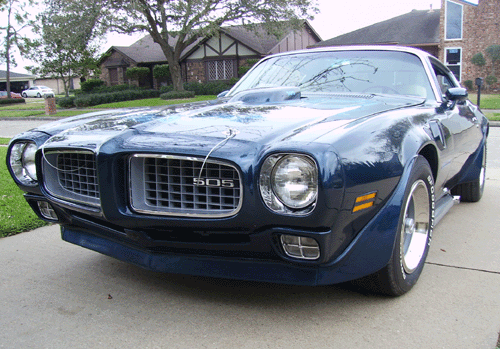
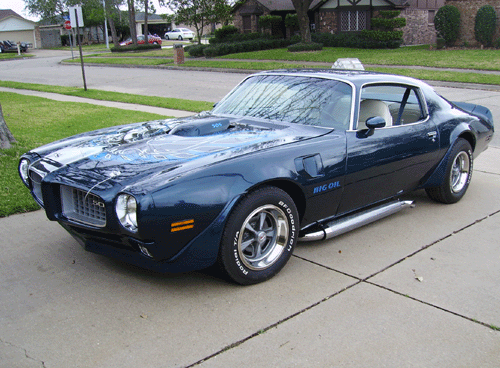
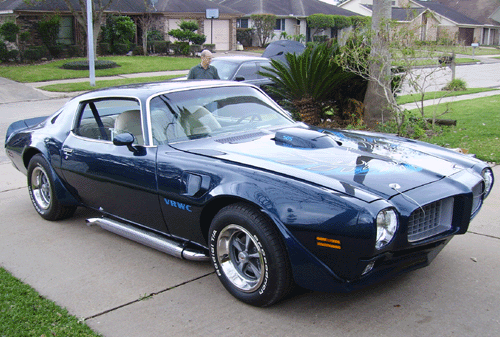
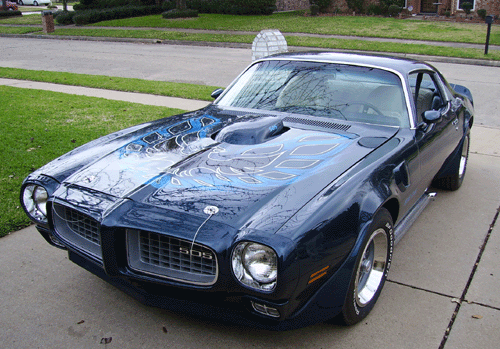
Below are the finished photos taken at time of delivery |
||
 |
 |
 |
 |
 |
 |
 |
 |
 |
 |
 |
 |
 |
 |
 |
 |
 |
 |
|
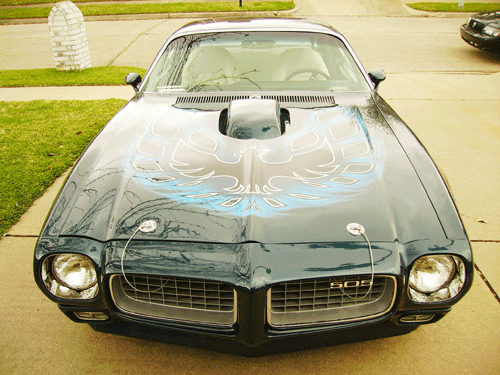
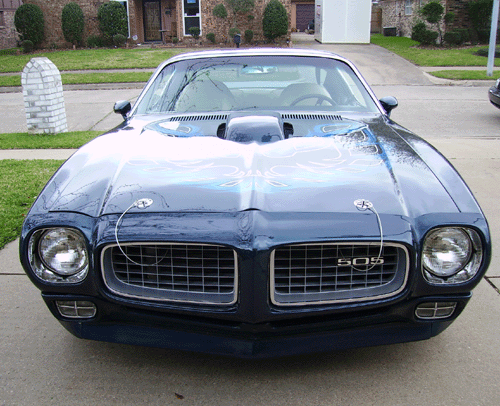
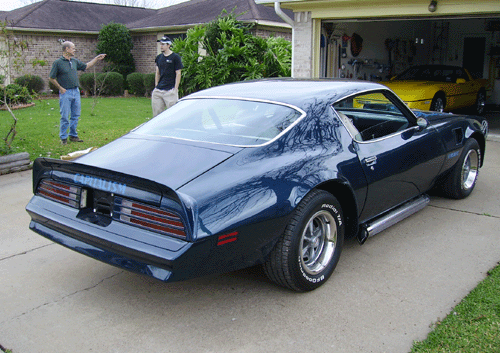
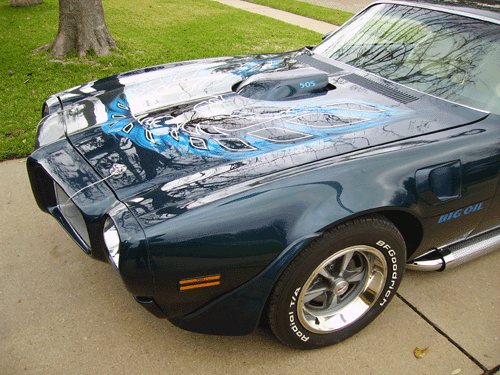
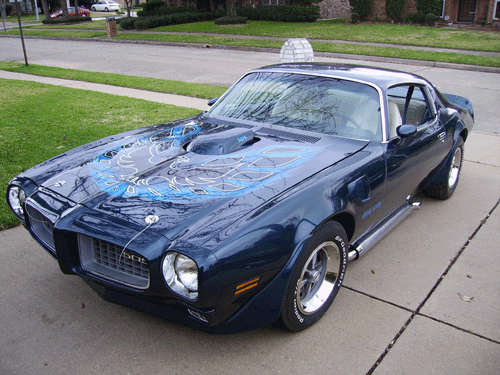
This is one car that I am very proud of. What started as a routine 'fix'er up' restoration turned into a real one of a kind muscle car. At 505 cubic inches it puts out roughly 650HP/660lbft. The owner invested well into the six-figure mark to get everything just right, from the custom handpainted exterior, to the custom designed driveline and custom interior. I cant say what all shows this car may end up at, but I do know you can expect to see it here in Houston routinely at the World of Wheels AutoRama in its full glory every November, and I have been told eventually it will be donated to a museum yet to be determined for perminant display. This car is a true testiment to what it really takes to build a complete custom in which each componant is specifically designed to work with the rest of the machine as a whole. It is unique in nearly every aspect of its construction, too many details to list. But this is not a trailer queen, it is a functional and driven automobile, as all restorations in my opinion should be. We deeply thank the customer for his business and appreciation of our work, and look forward to working with him on future projects. |
|
|
|
|
|
|