

 |
|||||
| 1983 A-Team | |||||
 |
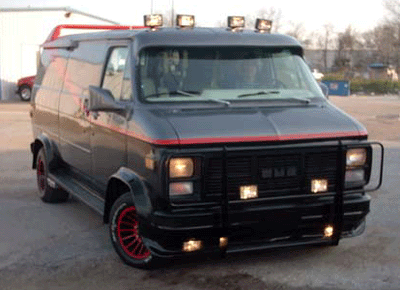
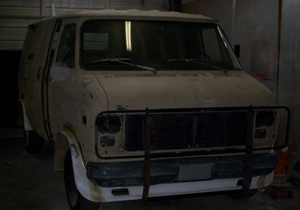
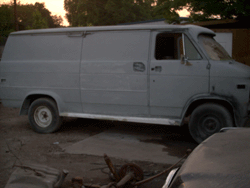
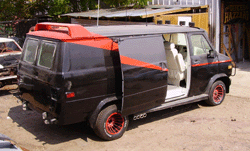
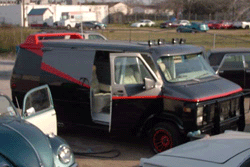
This is a fine example of our 'Base-Model' A-Team conversion being built for a customer in Florida. Full A-Team interior and rebuilt engine/transmission, weapons area, sunroof and disguise cabinet. We picked up the base vehicle on 2-11-05 in the condition shown here. A long way to go, but if B.A. could turn an old school bus into a guerilla tank, then I am sure this build will be no problem. |
 |
||
 |
 |
|||
|
We begin by tearing the vehicle apart. |
 |
 |
|
Installation of the body kit. The fender flares and airdam are molded into the body for a seamless fit. The airdam is reinforced with a square tube steel skeleton to the frame.
|
 |
 |
| The components for the front pushbar are cut and measured. |  |
|
|
Pushbar complete |
 |
 |
|
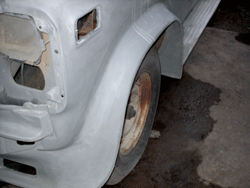
Fender flares being molded in. This was one of only 2 or 3 upgrades that were requested on this particular vehicle. |
 |
 |
|||||
|
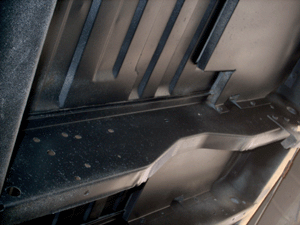
Now getting into the nitty gritty. The frame and underside is blasted and coated. Also a new windshield put in. |
 |
 |
|||||
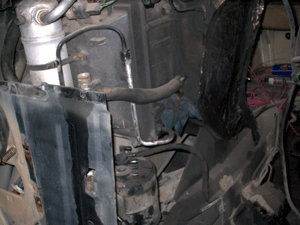
| Before and after shots of the engine bay once the engine was removed. |
 |
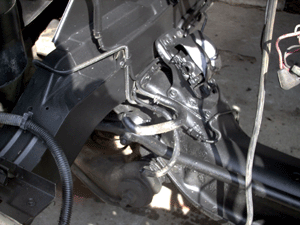 |
|||||
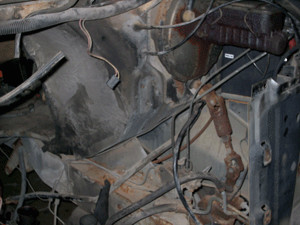 |
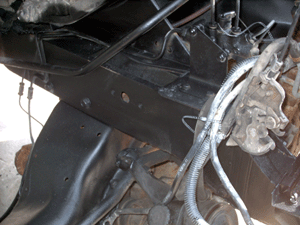 |
||||||
| Engine removed |
 |
 |
|
| fender flares being molded in |
 |
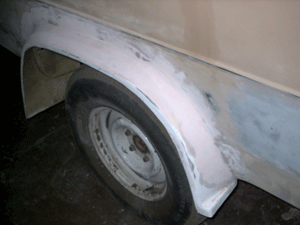 |
|
|
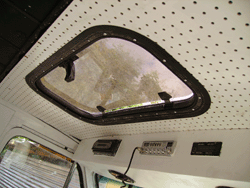
Sunroof added. |
 |
 |
 |
|
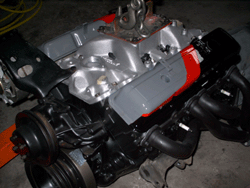
New crate engine, Chevy 350, 300HP with Headman headers and performer intake, 600cfm carb, and alittle custom 'A-Team' paintwork. The valve covers are an additional item, also available separately through the parts section of our website. |
 |
 |
 |
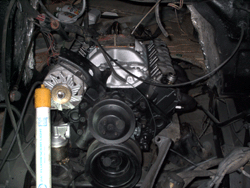
| Engine installed. |
 |
 |
 |
| Then we started on the interior panels and cabinet building. |
 |
 |
 |
|
| The interior was painted a combination of white and black, and the fold out rear bench seat was built with tube steel and modified bucket seat brackets. |
 |
 |
||
|
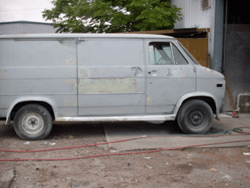
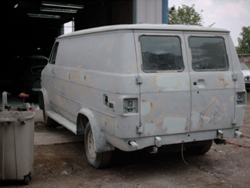
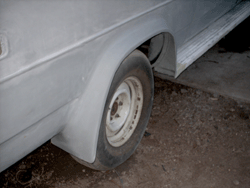
Finally primed and getting blocked again. With such large flat surfaces, getting a van to look perfectly straight, especially when painted black is difficult, and takes alot of blocking. |
 |
 |
||
|
Visor installed. Also, installing the frame work for the overhead console. |
 |
 |
||
| Final priming and sanding. |
 |
 |
|
 |
 |
||
|
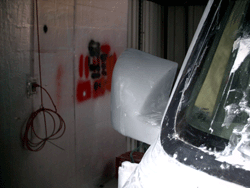
We have to install special sport mirrors and hand-build the custom mirror covers. |
 |
 |
|
|
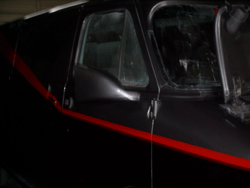
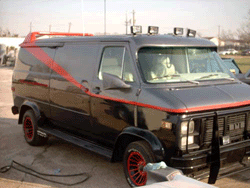
Here we finished the majority of the paintwork. This van is being done in 100% authentic colors. |
 |
 |
|
|
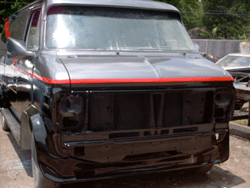
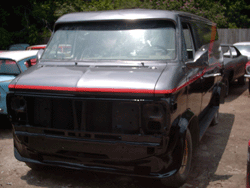
Here are a few shots in the sunlight, before wetsanding and buffing of course. Now we'll start interior assembly. |
 |
 |
|
 |
 |
||
|
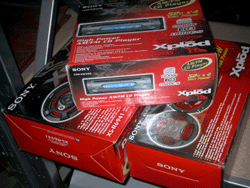
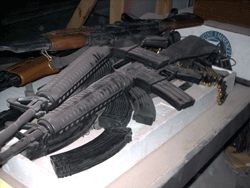
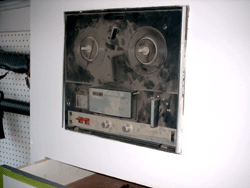
Here are a few items we will be putting in the van, Sony CD stereo system, CB system, rifle display cases and lock box, disguise cabinet, reel to reel player, grenades and other military items and police scanner/detector/jammer. |
 |
 |
 |
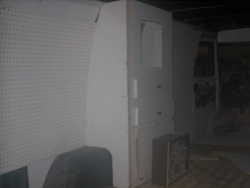
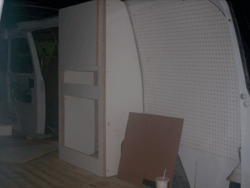
| The interior starts with paneling and end with carpet... but there are alot of things to install in-between, and alot of finish work to make the wood working look spectacular. | 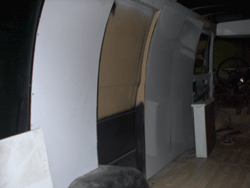 |
 |
 |
| (We are currently taking donations to buy this poor fellow a belt!) |  |
 |
 |
|
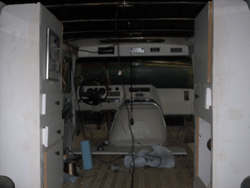
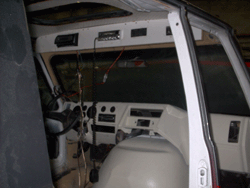
Final Assembly. |
 |
 |
 |
 |
 |
 |
|
|
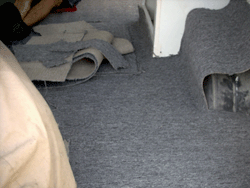
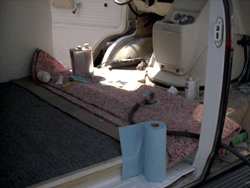
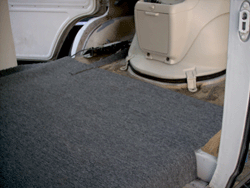
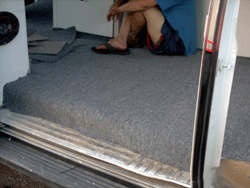
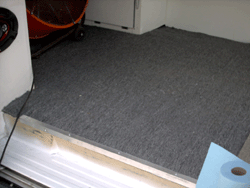
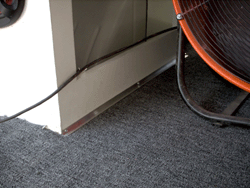
Carpet and padding Installation |
 |
 |
 |
 |
 |
 |
|
|
Test fitting the seats. |
 |
||
|
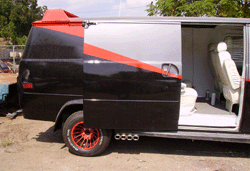
True dual exhaust, 2 1/4" with custom square quad tips and dual flowmaster 40 series 2 chamber mufflers for a serious rumble. (You can see part of the under structure in this photo which we built to brace the running boards. |
 |
|
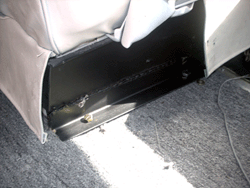
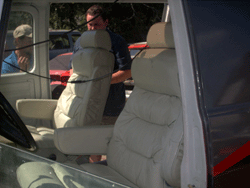
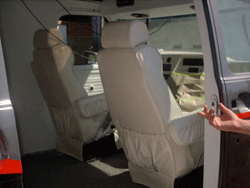
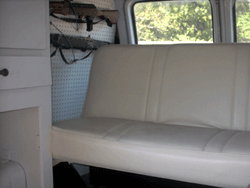
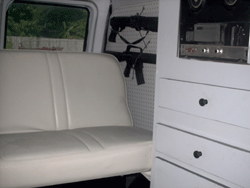
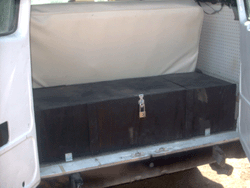
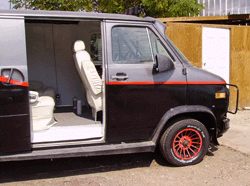
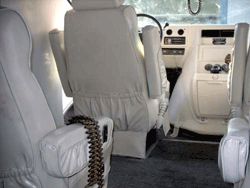
Custom made front seat brackets and front seats installed, rear bench seat final installation and rear rifle lock-box installed. |
 |
 |
 |
 |
 |
 |
 |
|
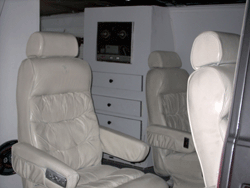
Seats installed and exhaust tips finished. The exhaust tips are four per side. |
 |
 |
| Wheels and Tires |
 |
 |
 |
 |
 |
||
|
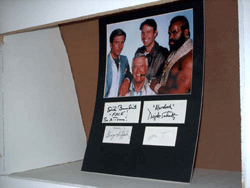
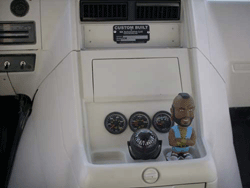
Delivery Day. Oddly enough, Mr. T's long lost twin brother arrived to transport the van. Look for the video soon. |
 |
 |
 |
 |
 |
 |
|
 |
 |
 |
|
|
|
|
For information on
replica or restoration services: BKautomotive@sbcglobal.net
|
|